
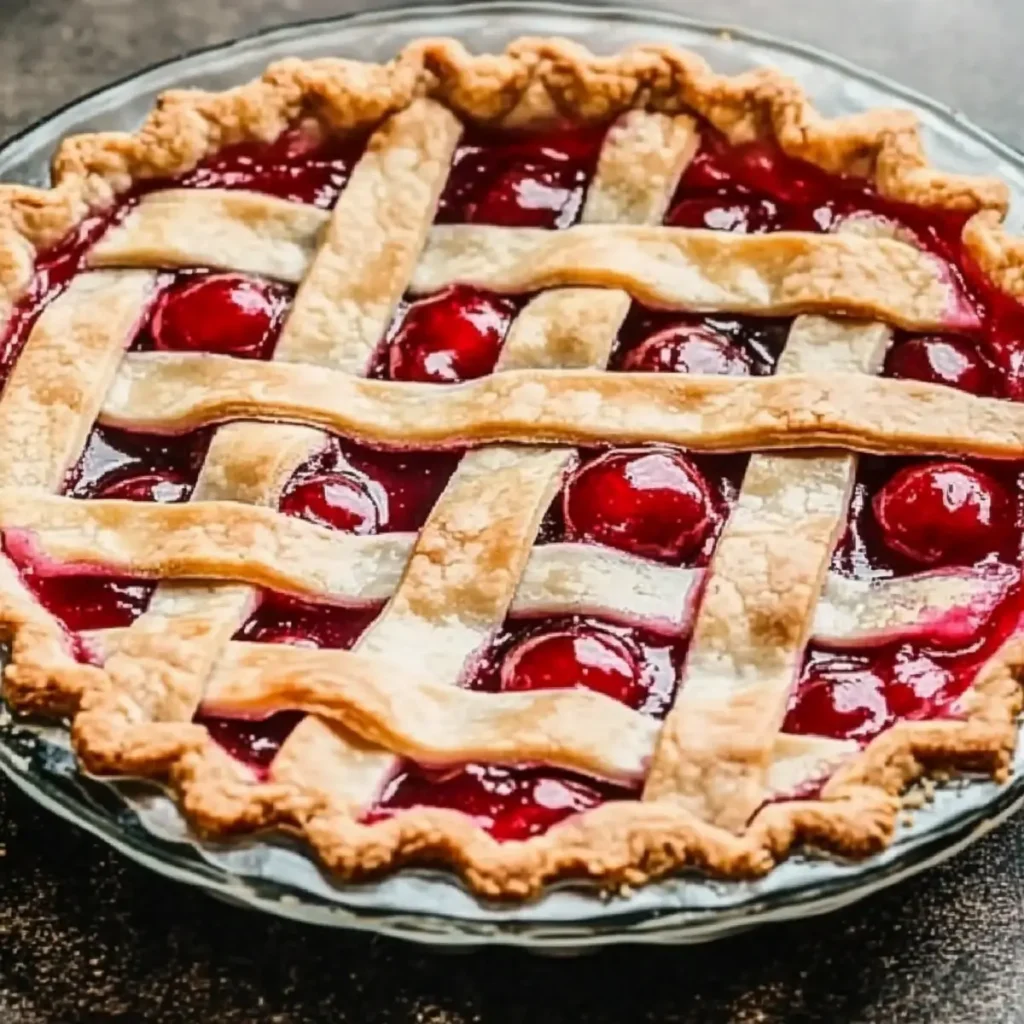
Cherry Pie is the kind of dessert that instantly transports you to lazy summer afternoons, where laughter dances in the air, and the aroma of freshly baked pastries brings everyone together. Imagine biting into a slice, only to be greeted by a wave of sweet, juicy cherries sitting snugly inside a flaky, buttery crust. It’s more than just dessert; it’s nostalgia on a plate, perfect for celebrations, family gatherings, or simply savoring the summer fruits while they last.
Speaking of nostalgia, let me take you back to my childhood summers spent in my grandmother’s kitchen, where the process of making Cherry Pie felt like an age-old ritual. Watching her deftly roll out the dough and fill the crust with glistening cherries was mesmerizing. You’ll find this Easy Homemade Cherry Pie Recipe captures that very spirit of joy, delight, and flavor — because who doesn’t want a slice of happiness?
Why You'll Love This Cherry Pie
- This incredible Cherry Pie transforms simple everyday ingredients into restaurant-quality flavors that will blow your mind completely.
- Foolproof recipe techniques guarantee perfect results every single time, making even novice cooks feel like professional chefs instantly.
- Stunning visual appeal with gorgeous colors and mouthwatering aromas creates the ultimate Instagram-worthy dish for any special occasion.
- Endlessly adaptable for different dietary needs while working beautifully for meal prep, date nights, or entertaining large groups effortlessly.
Ingredients for Cherry Pie
Here’s what you’ll need to make this delicious Cherry Pie:
4 cups fresh cherries – Use ripe, tart cherries for the best flavor. Pitting them can be a bit of a workout, but it’s worth it for those delicious rewards.
1 cup granulated sugar – This helps balance the tartness of the cherries and creates that delightful syrupy filling.
1/4 cup all-purpose flour – Acts as a thickening agent for your cherry filling, ensuring that it doesn’t end up a soupy mess.
2 tablespoons lemon juice – Adds a refreshing zing and enhances the natural sweetness of the cherries.
1/2 cup unsalted butter – Cold and cubed, this is your secret weapon for achieving that flaky pie crust everyone loves.
2 pie crusts – You can opt for store-bought if you’re short on time or get ambitious and make your own for that homemade touch.
How to Make Cherry Pie
Follow these simple steps to prepare this delicious Cherry Pie:
Step 1: Preheat the Oven
Preheat your oven to 425°F (220°C). This will give your pie that perfect golden crust everyone is dreaming of.
Step 2: Prepare the Cherry Filling
In a mixing bowl, combine the pitted cherries, granulated sugar, flour, and lemon juice. Give it a good stir until the cherries are fully coated and the sugar starts dissolving. You’ll see that gorgeous deep red color come alive!
Step 3: Roll Out the Pie Crust
On a lightly floured surface, roll out one of your pie crusts until it’s large enough to fit your pie dish. If you’re feeling adventurous, you can make your own crust from scratch — just remember to chill it beforehand for the flakiness.
Step 4: Assemble the Pie
Gently place the rolled crust in your pie dish, ensuring it fits snugly. Pour the cherry mixture evenly into the crust like a cherry red treasure trove.
Step 5: Top It Off
Cover with the second pie crust. Seal the edges by crimping them with a fork (or your fingers if you’re feeling fancy). Be sure to cut slits in the top crust to allow steam to escape, or else your pie could explode — and nobody wants that!
Step 6: Bake to Perfection
Place the pie in the preheated oven and bake for 45-50 minutes, until the filling is bubbling and the crust is golden brown. Keep an eye on it — your kitchen will smell like heaven.
Once out of the oven, let it cool for a bit before serving. It’s great warm, but let’s be real — a scoop of vanilla ice cream on top makes it even better. Enjoy your Cherry Pie as a perfect conclusion to any day, or share it with friends and loved ones, sparking joy and perhaps a little bit of friendly rivalry over the best dessert.
This Cherry Pie is not just a recipe; it’s a heartwarming slice of tradition that tastes like home. So, roll up those sleeves, channel your inner baker, and let’s get cracking on this delightful adventure!

This showstopping Cherry Pie delivers restaurant-quality results using simple ingredients you probably already have at home. The perfect balance of textures and flavors creates an unforgettable dining experience that will have everyone asking for seconds. Picture-perfect presentation with vibrant colors makes this dish absolutely Instagram-worthy and guaranteed to impress any dinner guest. Incredibly versatile recipe that works beautifully for weeknight dinners, meal prep, special occasions, or even outdoor entertaining sessions.
Perfecting Cherry Pie Cooking Process
To create the ultimate Cherry Pie, start by preparing the filling while your pie crusts chill. Roll out the crusts, fill one with the cherry mixture, and cover with the second crust, ensuring the edges are well-sealed. Bake until golden brown for optimal results.
Add Your Touch to Cherry Pie
Elevate your Cherry Pie by mixing in some almond extract for a nutty flavor or adding a sprinkle of cinnamon for warmth. You can also swap cherries for blueberries or peaches for a fun twist on this classic dessert.
Storing & Reheating Cherry Pie
To store your Cherry Pie, cover it tightly with plastic wrap and keep it in the refrigerator for up to five days. To reheat, pop it in a 350°F oven for about 15-20 minutes, ensuring the crust remains crisp and delightful.
Chef's Helpful Tips for Cherry Pie
- This professional-quality Cherry Pie relies on precise timing and temperature control to achieve restaurant-standard results consistently.
- Master the art of mise en place by prepping all ingredients beforehand, ensuring smooth execution and preventing any last-minute cooking disasters.
- The secret lies in layering flavors throughout the cooking process rather than seasoning only at the end for maximum depth.
- Pro tip: let the finished dish rest for optimal texture and flavor development before serving to hungry guests waiting eagerly.
There was that one summer evening when my friends and I were lounging on the patio, and I decided to whip up my Cherry Pie. The joy on their faces as they dove into those cherry-filled slices was priceless, and the laughter that followed became one of my favorite memories.
FAQs About Cherry Pie
What is Cherry Pie?
Cherry Pie is a classic dessert made with a flaky, buttery crust filled with sweet, juicy cherries, and often enhanced with sugar and lemon juice. It’s a beloved treat, especially during summer months when cherries are in season. The combination of sweet and slightly tart cherries creates a delightful explosion of flavor with every bite. Many enjoy serving it warm, often topped with a scoop of vanilla ice cream or a dollop of whipped cream, making it the perfect comfort food.
How do you make Cherry Pie from scratch?
Making Cherry Pie from scratch is a delightful experience! Start by preparing a pie crust using flour, butter, and a pinch of salt. For the filling, combine pitted fresh cherries, sugar, flour for thickening, and a splash of lemon juice for brightness. After assembling the ingredients in the crust, cover it with another layer, cut slits for steam, and bake until golden. The aroma that fills your kitchen will have everyone eagerly anticipating a slice.
Can I use frozen cherries for Cherry Pie?
Absolutely! Frozen cherries can be a great alternative if fresh ones are out of season. They usually come pitted and ready to use, saving you time. Just remember, frozen cherries tend to release more juice, so you may want to increase your flour or cornstarch in the filling to offset the extra moisture. This way, you’ll achieve that perfect consistency while still enjoying the delightful cherry flavor.
How do you store Cherry Pie?
To store Cherry Pie, let it cool completely, then cover it tightly with plastic wrap or aluminum foil. Place it in the refrigerator, where it can stay fresh for up to five days. If you’d like to enjoy it longer, consider freezing it. Just make sure it’s wrapped well to prevent freezer burn. When ready to serve, reheat in an oven at 350°F for about 15-20 minutes to restore that lovely crisp crust.
Conclusion for Cherry Pie
In summary, Cherry Pie is not just a dessert; it’s a nostalgic experience filled with delightful flavors and memories. Whether you’re making it for a summer picnic or a cozy night in, this recipe brings joy to everyone who tries it. With its beautiful presentation and irresistible taste, Cherry Pie is sure to impress your family and friends. So, roll up your sleeves, gather your ingredients, and dive into creating this delectable treat that embodies the essence of summer.
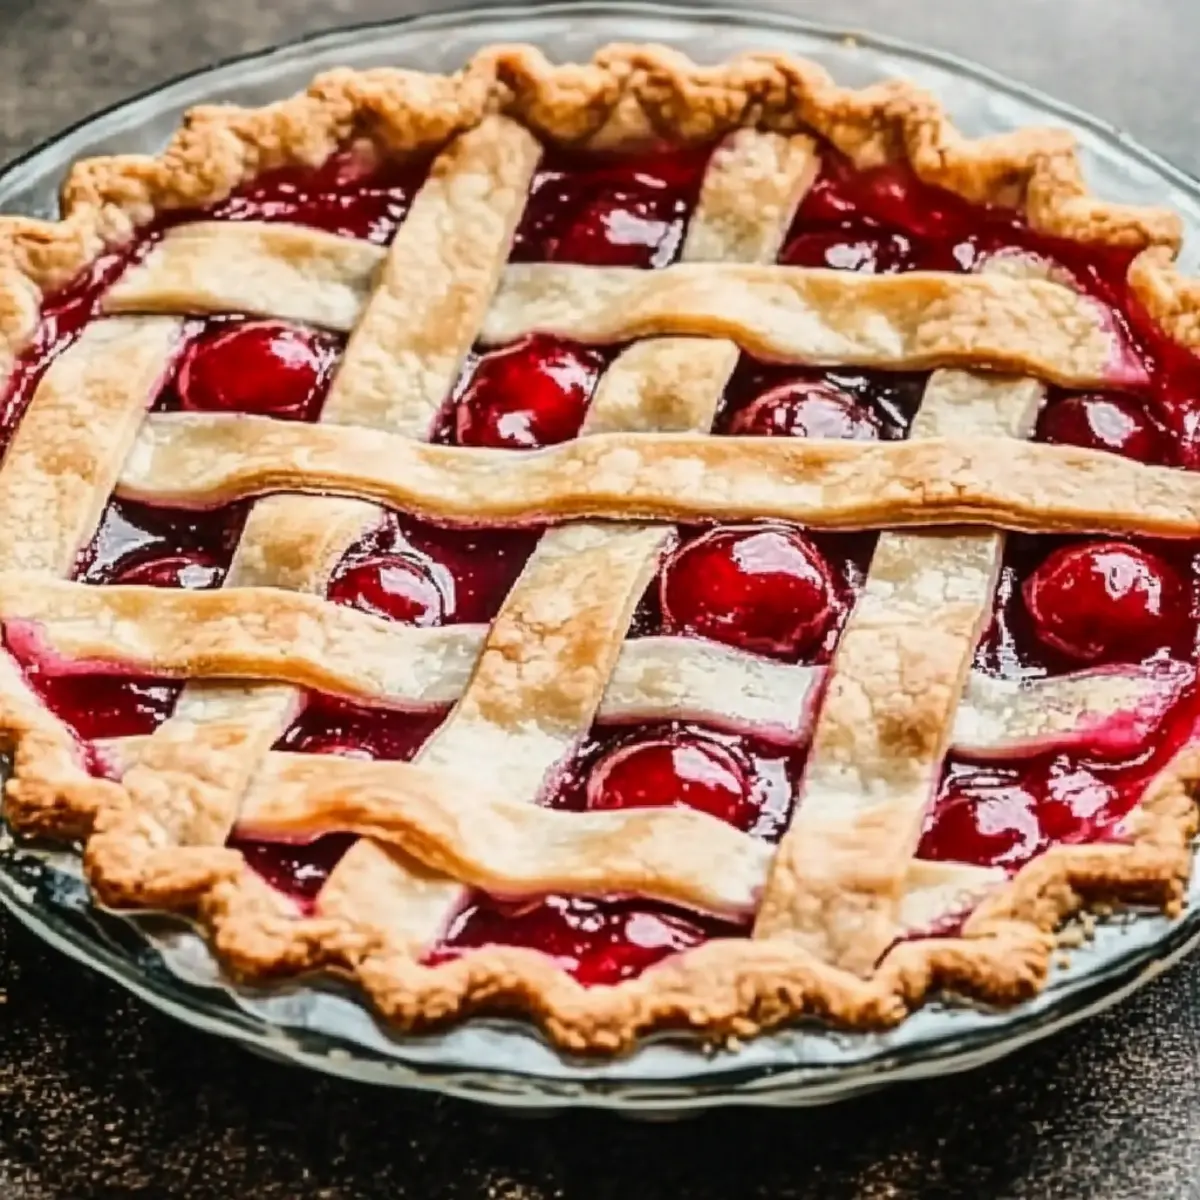
Easy Homemade Cherry Pie Recipe for a Perfect Summer Dessert
Ingredients
Equipment
Method
- Preheat your oven to 425°F (220°C).
- In a bowl, combine pitted cherries, sugar, flour, and lemon juice until well mixed.
- Roll out the pie crust on a floured surface and place one layer in the pie dish.
- Pour the cherry mixture into the crust evenly.
- Cover with the second pie crust; seal edges and cut slits for steam.
- Bake for 45-50 minutes until the filling is bubbly and the crust is golden brown.