
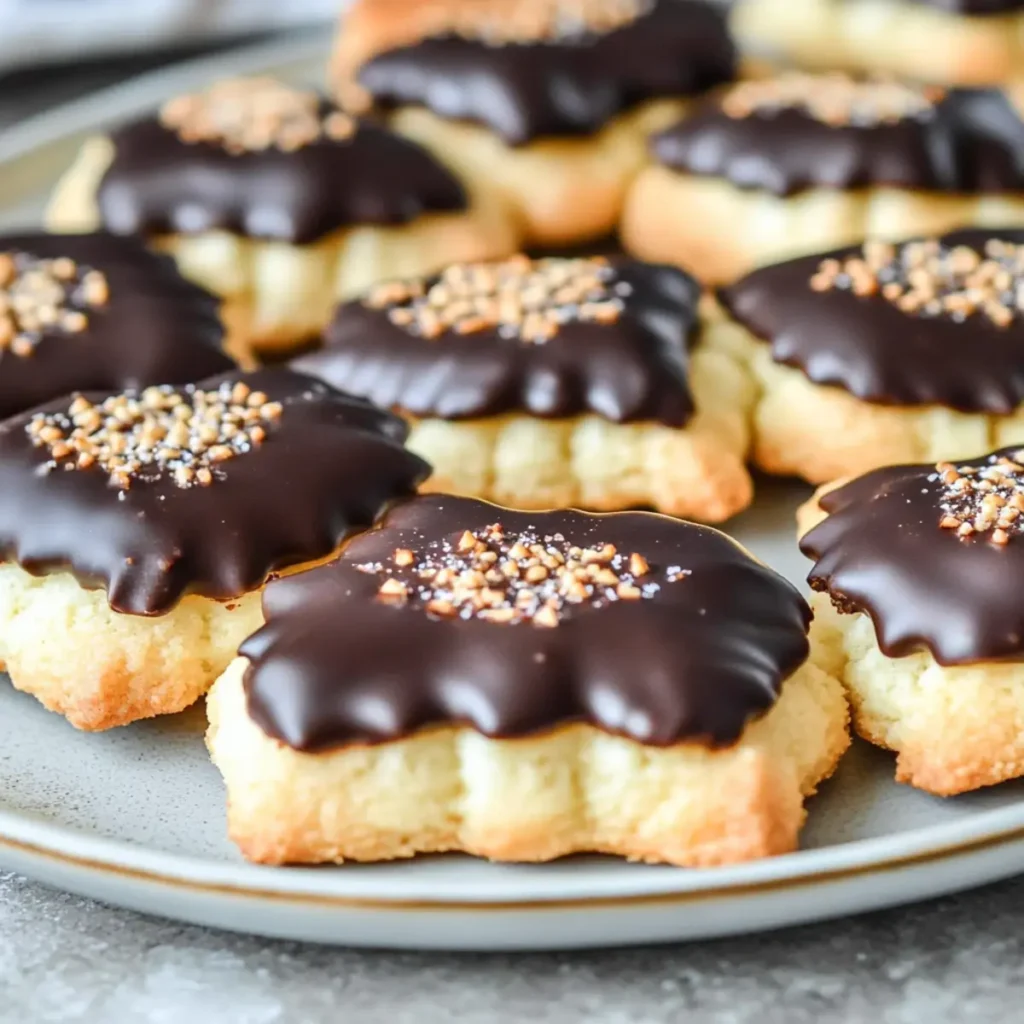
Imagine biting into a warm, chewy biscuit that’s been lovingly dipped in silky, melted chocolate—a delightful experience that not only tickles your taste buds but also wraps you in a cozy hug of nostalgia. That’s exactly what you get with these Danish Chocolate Dipped Biscuits. The sweet aroma wafting through your kitchen will transport you back to simpler times, turning any ordinary day into a mini celebration.
Whether it’s a rainy afternoon, a gathering of friends, or just a casual snack to lift your spirits, these biscuits make every moment feel special. They’re easy to prepare, and, amidst giggles and chatter, you’ll create something that not only looks good but tastes divine—making you the star of your own bake-off!
Why You'll Love This Danish Chocolate Dipped Biscuits
- This incredible Danish Chocolate Dipped Biscuits transforms simple everyday ingredients into restaurant-quality flavors that will blow your mind completely.
- Foolproof recipe techniques guarantee perfect results every single time, making even novice cooks feel like professional chefs instantly.
- Stunning visual appeal with gorgeous colors and mouthwatering aromas creates the ultimate Instagram-worthy dish for any special occasion.
- Endlessly adaptable for different dietary needs while working beautifully for meal prep, date nights, or entertaining large groups effortlessly.
Ingredients for Danish Chocolate Dipped Biscuits
Here’s what you’ll need to make this delicious Danish Chocolate Dipped Biscuits:
2 cups all-purpose flour – Essential for structure; sifted for lighter texture.
1/2 cup unsalted butter, softened – Adds richness; ensure it’s at room temperature for easy mixing.
1/2 cup granulated sugar – Sweetens the biscuits; you can substitute with coconut sugar for a healthier option.
1/4 cup brown sugar – Provides moisture and a lovely caramel flavor; tightly pack for accurate measurement.
1 large egg – Binds the ingredients together for a firm biscuit.
1 tsp baking powder – Helps the biscuits rise for a light texture.
1 cup semi-sweet chocolate chips or melting chocolate – Adds a delicious chocolatey finish; pick your favorite brand for best flavor.
How to Make Danish Chocolate Dipped Biscuits
Follow these simple steps to prepare this delicious Danish Chocolate Dipped Biscuits:
Step 1: Preheat the Oven
Preheat your oven to 350°F (175°C) and line two baking sheets with parchment paper. This ensures that your biscuits bake evenly and won’t stick, freeing you from the awkward struggle of trying to detach them later.
Step 2: Cream the Butter and Sugars
In a large bowl, cream together the softened butter, granulated sugar, and brown sugar until the mixture is light and fluffy. The creaming process is crucial as it incorporates air into the batter, resulting in delightfully airy biscuits. Beat in the egg until well combined, adding a touch of richness to your mix.
Step 3: Mix the Dry Ingredients
Sift together the flour and baking powder in a separate bowl. This not only removes lumps but also introduces more air, making your biscuits even fluffier. Gradually mix the dry ingredients into the wet mixture until just fully incorporated—overmixing can lead to dense biscuits.
Step 4: Shape the Dough
Scoop tablespoons of dough onto the prepared baking sheets, spacing them about two inches apart. Shape each scoop into a small ball and flatten them slightly. This will help them bake evenly and give that perfect biscuit shape.
Step 5: Bake
Pop the trays in the preheated oven and bake for 10-12 minutes until the edges turn a lovely golden brown. Keep a close eye on them, as they can quickly become overdone. Allow to cool on the baking sheet for five minutes before transferring them to wire racks for complete cooling.
Step 6: Dip in Chocolate
While the biscuits cool, melt the chocolate chips in a microwave-safe bowl. Heat in short bursts and stir until smooth—watching it like a hawk, so it doesn’t burn. Dip half of each biscuit into the melted chocolate and place them back on the parchment paper to set. This step is pure magic, as the chocolate turns the simple biscuit into a decadent treat.
You can serve these Danish Chocolate Dipped Biscuits as they are, or elevate them with a sprinkle of sea salt to complement the sweetness. Store any leftovers (if there are any) in an airtight container—if they survive that long. You won’t be able to resist the chatter of family and friends praising your baking skills with every bite they take! Enjoy the glorious accolades, dear baker!

You Must Know About Danish Chocolate Dipped Biscuits
- This showstopping Danish Chocolate Dipped Biscuits delivers restaurant-quality results using simple ingredients you probably already have at home.
- The perfect balance of textures and flavors creates an unforgettable dining experience that will have everyone asking for seconds.
- Picture-perfect presentation with vibrant colors makes this dish absolutely Instagram-worthy and guaranteed to impress any dinner guest.
- Incredibly versatile recipe that works beautifully for weeknight dinners, meal prep, special occasions, or even outdoor entertaining sessions.
Perfecting Danish Chocolate Dipped Biscuits Cooking Process
To create the ideal Danish Chocolate Dipped Biscuits, start by preparing your baking sheets and preheating the oven. While the oven warms, mix your wet ingredients before incorporating the dry ones, ensuring a smooth dough. This structured sequence guarantees evenly baked biscuits ready for a delightful chocolate dip.
Add Your Touch to Danish Chocolate Dipped Biscuits
Feel free to personalize your Danish Chocolate Dipped Biscuits by substituting dark chocolate for semi-sweet or adding a sprinkle of sea salt on top of the chocolate for an extra flavor punch. You can also introduce spices like cinnamon to elevate the biscuits.
Storing & Reheating Danish Chocolate Dipped Biscuits
To maintain freshness, store your Danish Chocolate Dipped Biscuits in an airtight container at room temperature for up to a week. When reheating, simply pop them in the microwave for a few seconds to bring back their original texture and delightfully gooey chocolate.
Chef's Helpful Tips for Danish Chocolate Dipped Biscuits
- This professional-quality Danish Chocolate Dipped Biscuits relies on precise timing and temperature control to achieve restaurant-standard results consistently.
- Master the art of mise en place by prepping all ingredients beforehand, ensuring smooth execution and preventing any last-minute cooking disasters.
- The secret lies in layering flavors throughout the cooking process rather than seasoning only at the end for maximum depth.
- Pro tip: let the finished dish rest for optimal texture and flavor development before serving to hungry guests waiting eagerly.
It was a joyful Sunday afternoon when I first baked these delightful biscuits. Friends gathered in the kitchen, and the aroma filled the air, sparking laughter and stories about our favorite childhood treats. Those biscuits have since become a beloved moment in our gatherings.
FAQs About Danish Chocolate Dipped Biscuits
What are Danish Chocolate Dipped Biscuits?
Danish Chocolate Dipped Biscuits are delightful treats made from a buttery, sweet biscuit that gets its edge from a rich chocolate dip. Originating from Denmark, these biscuits are crispy on the outside and soft on the inside. The combination of semi-sweet chocolate and perfectly baked biscuits creates a delicious contrast, making them ideal for dipping into a cup of coffee or tea. With an easy-to-follow recipe, you can whip up a batch for any occasion, whether it’s a casual gathering or an elegant affair.
How do I store Danish Chocolate Dipped Biscuits?
To keep your Danish Chocolate Dipped Biscuits fresh, store them in an airtight container at room temperature. This method preserves their texture and flavor for up to a week. If you want to extend their shelf life, you can also freeze the baked biscuits before dipping them in chocolate. Just wrap them tightly in plastic wrap and place them in a freezer-safe bag. When you’re ready to enjoy them, simply thaw at room temperature and dip in melted chocolate.
Can I customize Danish Chocolate Dipped Biscuits?
Absolutely! The beauty of Danish Chocolate Dipped Biscuits lies in their versatility. Feel free to experiment with different types of chocolate, such as dark or white chocolate, to suit your taste. You can also add toppings like crushed nuts, sprinkles, or a light dusting of powdered sugar after dipping. If you want to spice things up, consider adding cinnamon or even a hint of orange zest into the biscuit dough for a unique twist.
What occasions are perfect for serving Danish Chocolate Dipped Biscuits?
Danish Chocolate Dipped Biscuits are incredibly versatile and can be served on numerous occasions. They make a wonderful addition to holiday cookie platters or as sweet treats at celebrations like baby showers or birthdays. They’re also perfect for casual get-togethers, book club meetings, or even as a delicious snack while binging your favorite series. Their delightful presentation and irresistible taste are sure to impress your guests no matter the event.
Conclusion for Danish Chocolate Dipped Biscuits
In conclusion, Danish Chocolate Dipped Biscuits are a delightful treat that brings warmth and sweetness to any occasion. With a lovely balance of textures and flavors, they are easy to make and utterly delicious. Whether you enjoy them with a cup of coffee or serve them at a party, these biscuits will surely be a hit. So gather your ingredients, follow the simple steps, and indulge in the bliss of homemade Danish Chocolate Dipped Biscuits that everyone will love!

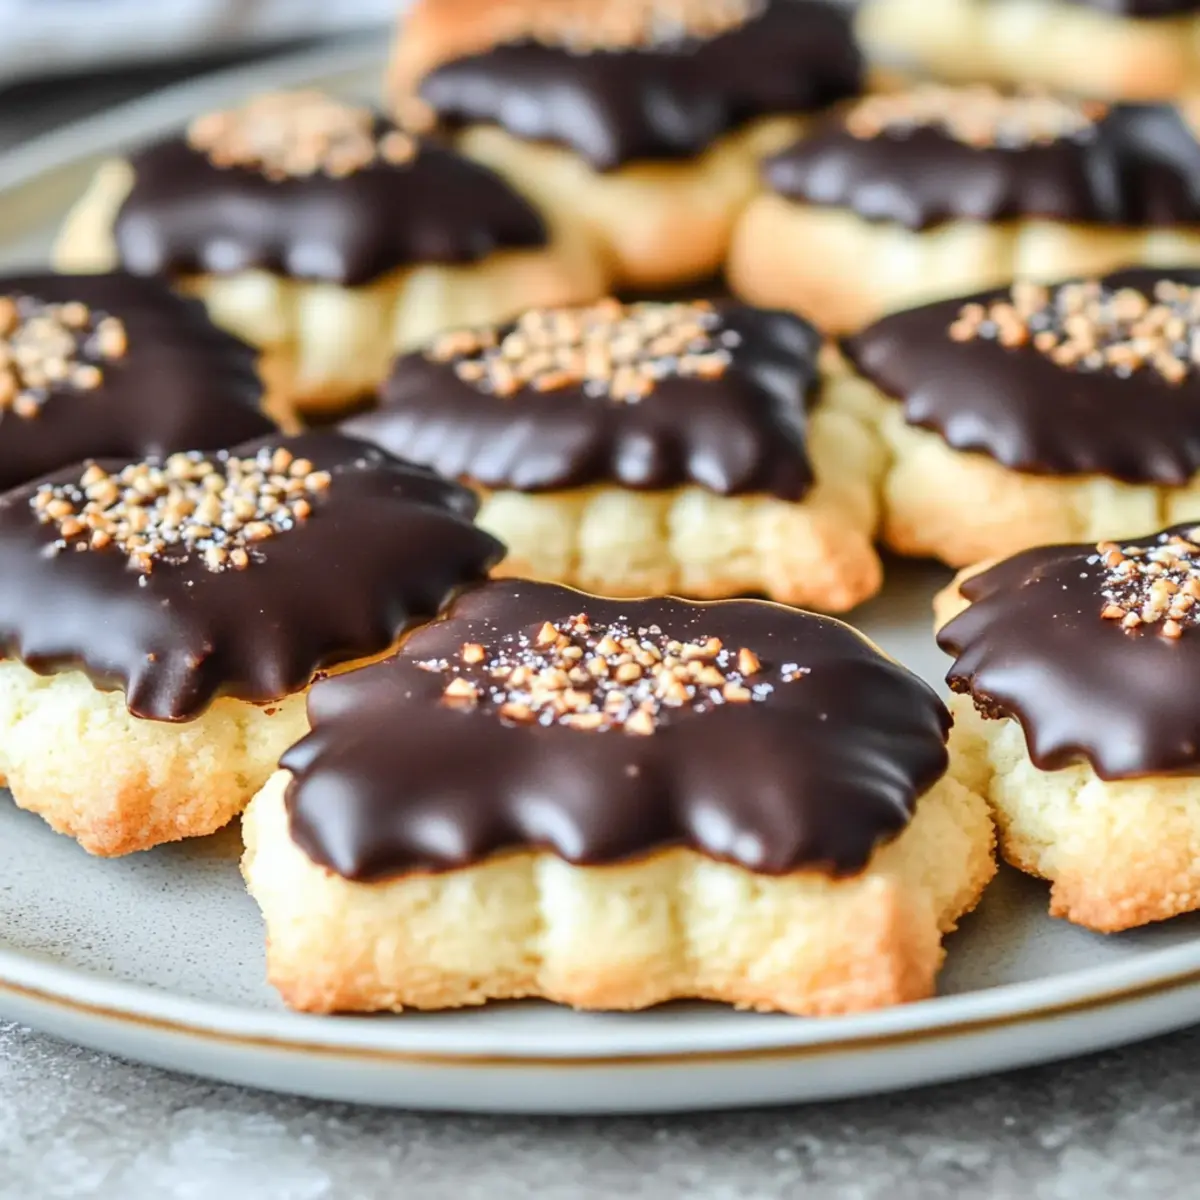
Danish Chocolate Dipped Biscuits
Ingredients
Equipment
Method
- Preheat your oven to 350°F (175°C) and line two baking sheets with parchment paper.
- In a large bowl, cream together the softened butter, granulated sugar, and brown sugar until light and fluffy. Beat in the egg until well combined.
- Sift together the flour and baking powder, then gradually mix into the wet ingredients until fully incorporated.
- Scoop tablespoons of dough onto the prepared baking sheets, spacing them two inches apart. Flatten slightly.
- Bake for 10-12 minutes until golden brown around the edges. Allow to cool on the baking sheet for five minutes before transferring to wire racks.
- Melt the chocolate chips in a microwave-safe bowl using short bursts of heat until smooth. Dip half of each biscuit into melted chocolate and place back on parchment paper to set.