
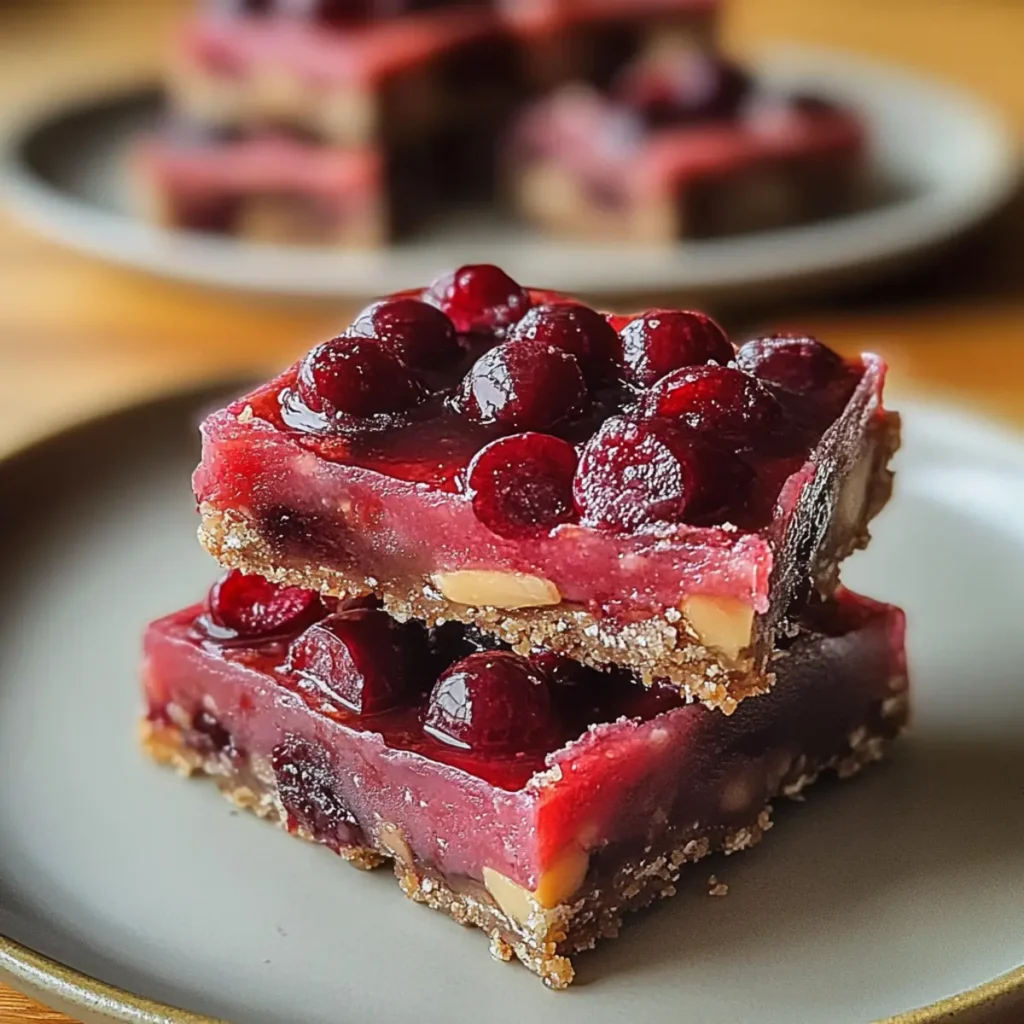
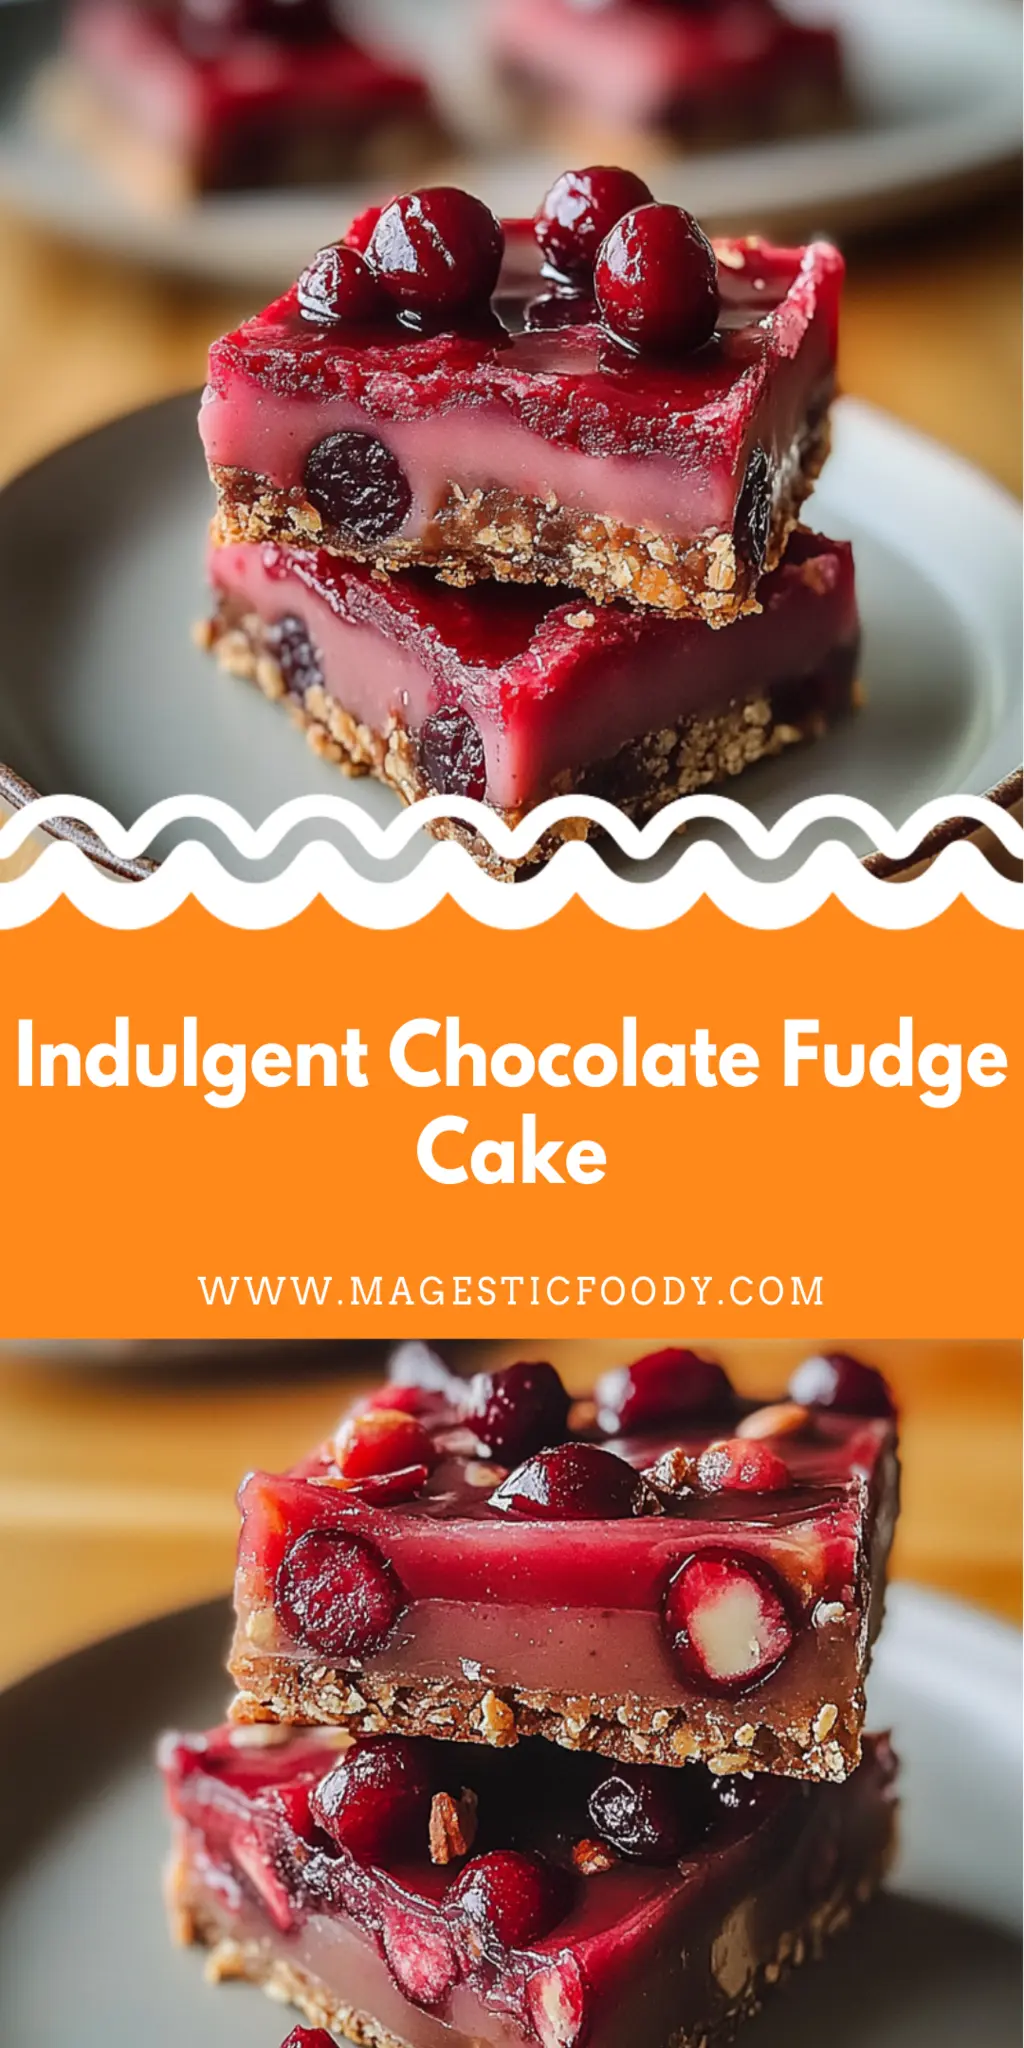
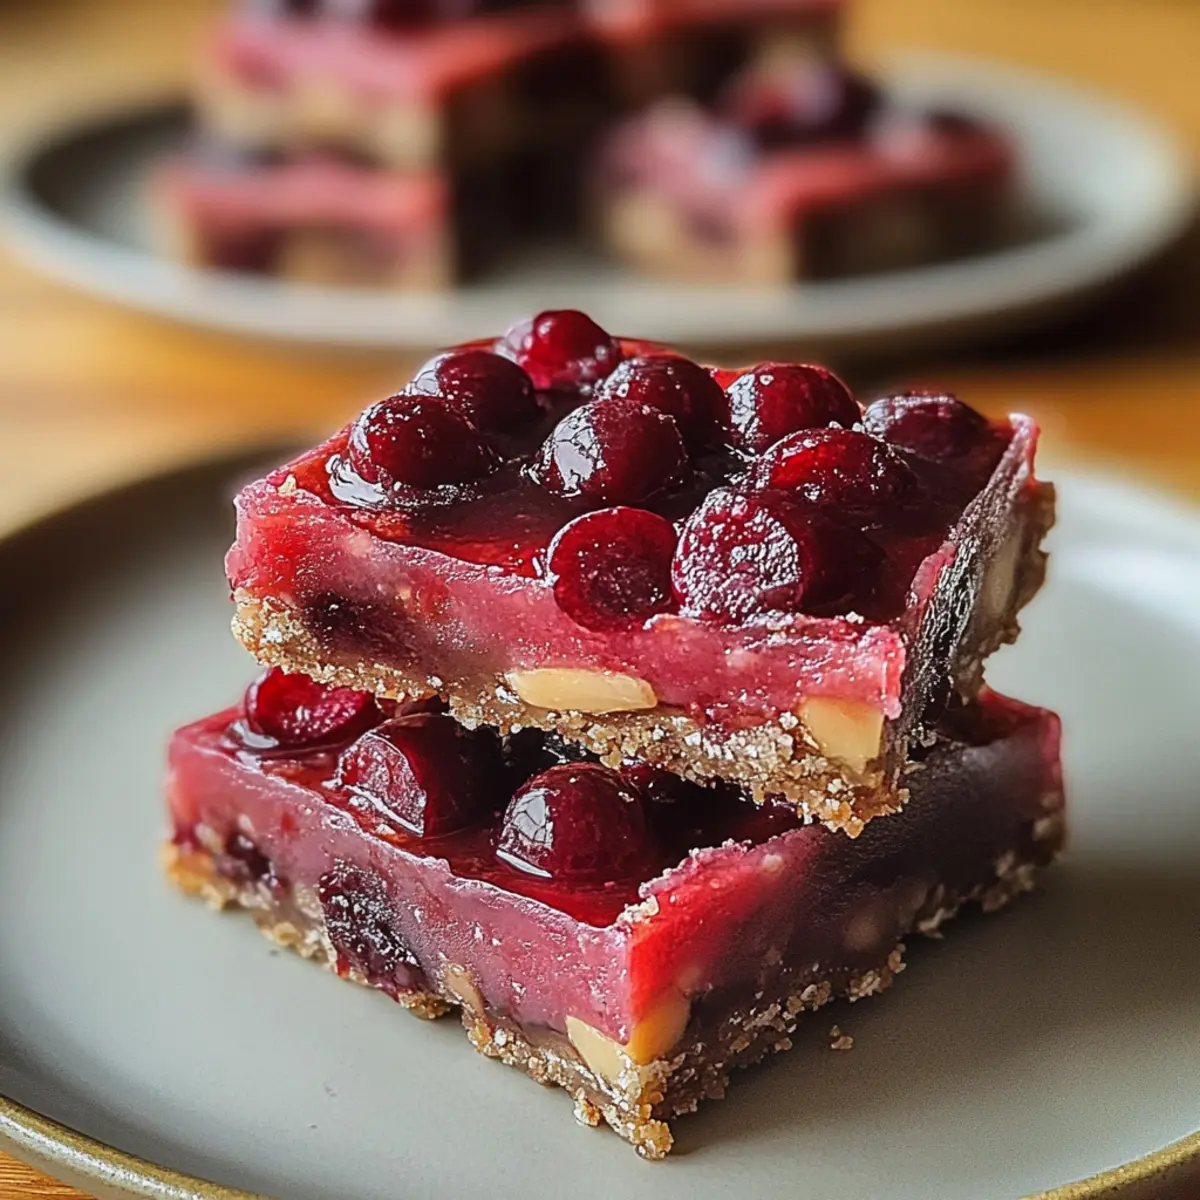
The sweet tang of juicy cherries nestled in a tender, buttery base—that is what Cherry Mash Bars are all about. Imagine slicing into a dessert where the vibrant red of ripe cherries pops against a golden-brown backdrop, leaving you with a delightful scent wafting through your kitchen, beckoning everyone in for a taste.
These bars not only look stunning but also taste like summer itself. In every bite, you’ll find a balance of sweet and tart that’ll transport you straight to a sunlit orchard. Perfect for brightening up a gathering or adding a splash of joy to a random Tuesday afternoon, these Cherry Mash Bars are sure to become a quick favorite in your home.
Why You'll Love This Cherry Mash Bars
- This incredible Cherry Mash Bars transforms simple everyday ingredients into restaurant-quality flavors that will blow your mind completely.
- Foolproof recipe techniques guarantee perfect results every single time, making even novice cooks feel like professional chefs instantly.
- Stunning visual appeal with gorgeous colors and mouthwatering aromas creates the ultimate Instagram-worthy dish for any special occasion.
- Endlessly adaptable for different dietary needs while working beautifully for meal prep, date nights, or entertaining large groups effortlessly.
Ingredients for Cherry Mash Bars
Here’s what you’ll need to make this delicious Cherry Mash Bars:
1 cup fresh cherries – Pitted and halved, these cherries bring both flavor and a burst of color to the bars.
1 cup granulated sugar – The perfect sweetener that enhances the cherry flavors without overpowering them.
1/2 cup unsalted butter – Softened for easy mixing, this butter adds rich flavor and moisture.
1 cup all-purpose flour – The foundation of your bars, providing structure without being too heavy.
2 large eggs – They help bind everything together and give the bars a delightful texture.
1 tsp baking powder – A little lift for your bars, ensuring they bake up nice and fluffy.
2 tsp vanilla extract – For that warm, inviting flavor that makes everything better.
How to Make Cherry Mash Bars
Follow these simple steps to prepare this delicious Cherry Mash Bars:
Step 1: Preheat Your Oven
Begin this cherry-filled adventure by preheating your oven to 350°F (175°C). Grease an 8×8-inch baking dish with butter or nonstick spray. This step assures your bars will slide out gracefully, ready to charm everyone.
Step 2: Prepare Dry Ingredients
In a medium bowl, whisk together the flour and baking powder. This is the secret to ensuring they don’t clump, so your bars will have a lovely texture once baked. Set this bowl aside, and prepare for some buttery magic.
Step 3: Cream the Butter and Sugar
In a separate large bowl, cream the softened butter and granulated sugar together until the mixture is light and fluffy. This process not only combines the two but also adds air, contributing to the wonderful texture of your bars.
Step 4: Add Eggs and Vanilla
One at a time, beat in the eggs and then mix in the vanilla extract. This is where the aroma begins to escalate, infusing your kitchen with a delicious smell that will make your family’s mouths water.
Step 5: Combine the Mixtures
Gradually mix in the dry ingredients, being careful not to over-mix. Once combined, gently fold in the halved cherries. Take a moment to enjoy the bright color and tantalizing texture of the cherries in this batter!
Step 6: Bake the Bars
Pour the batter into your greased baking dish and spread it evenly. Bake it in your preheated oven for 30-35 minutes or until the top is golden brown and a toothpick inserted in the center comes out clean. Let them cool before slicing into squares to reveal that beautiful cherry-studded interior.
These Cherry Mash Bars are perfect for any occasion—from summer picnics to cozy family gatherings. They’re a sweet reminder that life is too short not to indulge in a little cherry goodness. Just imagine serving your friends a warm piece with a dollop of whipped cream or a scoop of vanilla ice cream to take this summer dream over the top! Enjoy baking, and most importantly, enjoy tasting your creation!
You Must Know About Cherry Mash Bars
- This showstopping Cherry Mash Bars delivers restaurant-quality results using simple ingredients you probably already have at home.
- The perfect balance of textures and flavors creates an unforgettable dining experience that will have everyone asking for seconds.
- Picture-perfect presentation with vibrant colors makes this dish absolutely Instagram-worthy and guaranteed to impress any dinner guest.
- Incredibly versatile recipe that works beautifully for weeknight dinners, meal prep, special occasions, or even outdoor entertaining sessions.
Perfecting Cherry Mash Bars Cooking Process
To make perfect Cherry Mash Bars, start by creaming the butter and sugar before adding eggs and vanilla. While that mixes, whisk together your dry ingredients separately to ensure even distribution. Finally, fold in those juicy cherries to keep their lovely shape.
Add Your Touch to Cherry Mash Bars
Feel free to customize your Cherry Mash Bars! Consider using almond extract instead of vanilla for a unique twist, or try adding a handful of dark chocolate chips for a decadent variation. Enjoy experimenting with different nuts or even spices like cinnamon!
Storing & Reheating Cherry Mash Bars
To store your Cherry Mash Bars, keep them in an airtight container at room temperature for up to three days. For longer storage, refrigerate them for up to a week. Reheat in the oven at a low temperature for extra softness.
Chef's Helpful Tips for Cherry Mash Bars
- This professional-quality Cherry Mash Bars relies on precise timing and temperature control to achieve restaurant-standard results consistently.
- Master the art of mise en place by prepping all ingredients beforehand, ensuring smooth execution and preventing any last-minute cooking disasters.
- The secret lies in layering flavors throughout the cooking process rather than seasoning only at the end for maximum depth.
- Pro tip: let the finished dish rest for optimal texture and flavor development before serving to hungry guests waiting eagerly.
Sharing my Cherry Mash Bars with friends for the first time was a delight; their eyes lit up like fireworks, and I knew I had a hit on my hands!
FAQs About Cherry Mash Bars
What is Cherry Mash Bars?
Cherry Mash Bars are delightful baked treats that combine the sweetness of fresh cherries with a buttery, fluffy cake-like base. This recipe showcases a simple list of ingredients such as cherries, flour, sugar, and eggs, creating a texture that’s both moist and chewy. Perfect for summer gatherings or any occasion, Cherry Mash Bars are easy to make and sure to impress your friends and family with their vibrant flavor and appealing presentation.
How do I store Cherry Mash Bars?
To keep your Cherry Mash Bars fresh, store them in an airtight container at room temperature for up to three days. If you want to extend their shelf life, refrigerate them for up to a week. Just be sure to let them come to room temperature before serving, or warm them up gently in the oven to regain that delicious, soft texture.
Can I customize my Cherry Mash Bars?
Absolutely! One of the great things about Cherry Mash Bars is their versatility. You can experiment by adding almond extract for a unique flavor twist, incorporating dark chocolate chips for added richness, or even mixing in nuts or spices like cinnamon. Each variation will add a personal touch, making your bars uniquely yours!
How can I tell when Cherry Mash Bars are done baking?
When baking Cherry Mash Bars, look for a golden-brown top and a toothpick inserted into the center coming out clean or with just a few moist crumbs clinging to it. Typically, they take around 30 to 35 minutes at 350°F. Let them cool before cutting to ensure the best texture and flavor.
Conclusion for Cherry Mash Bars
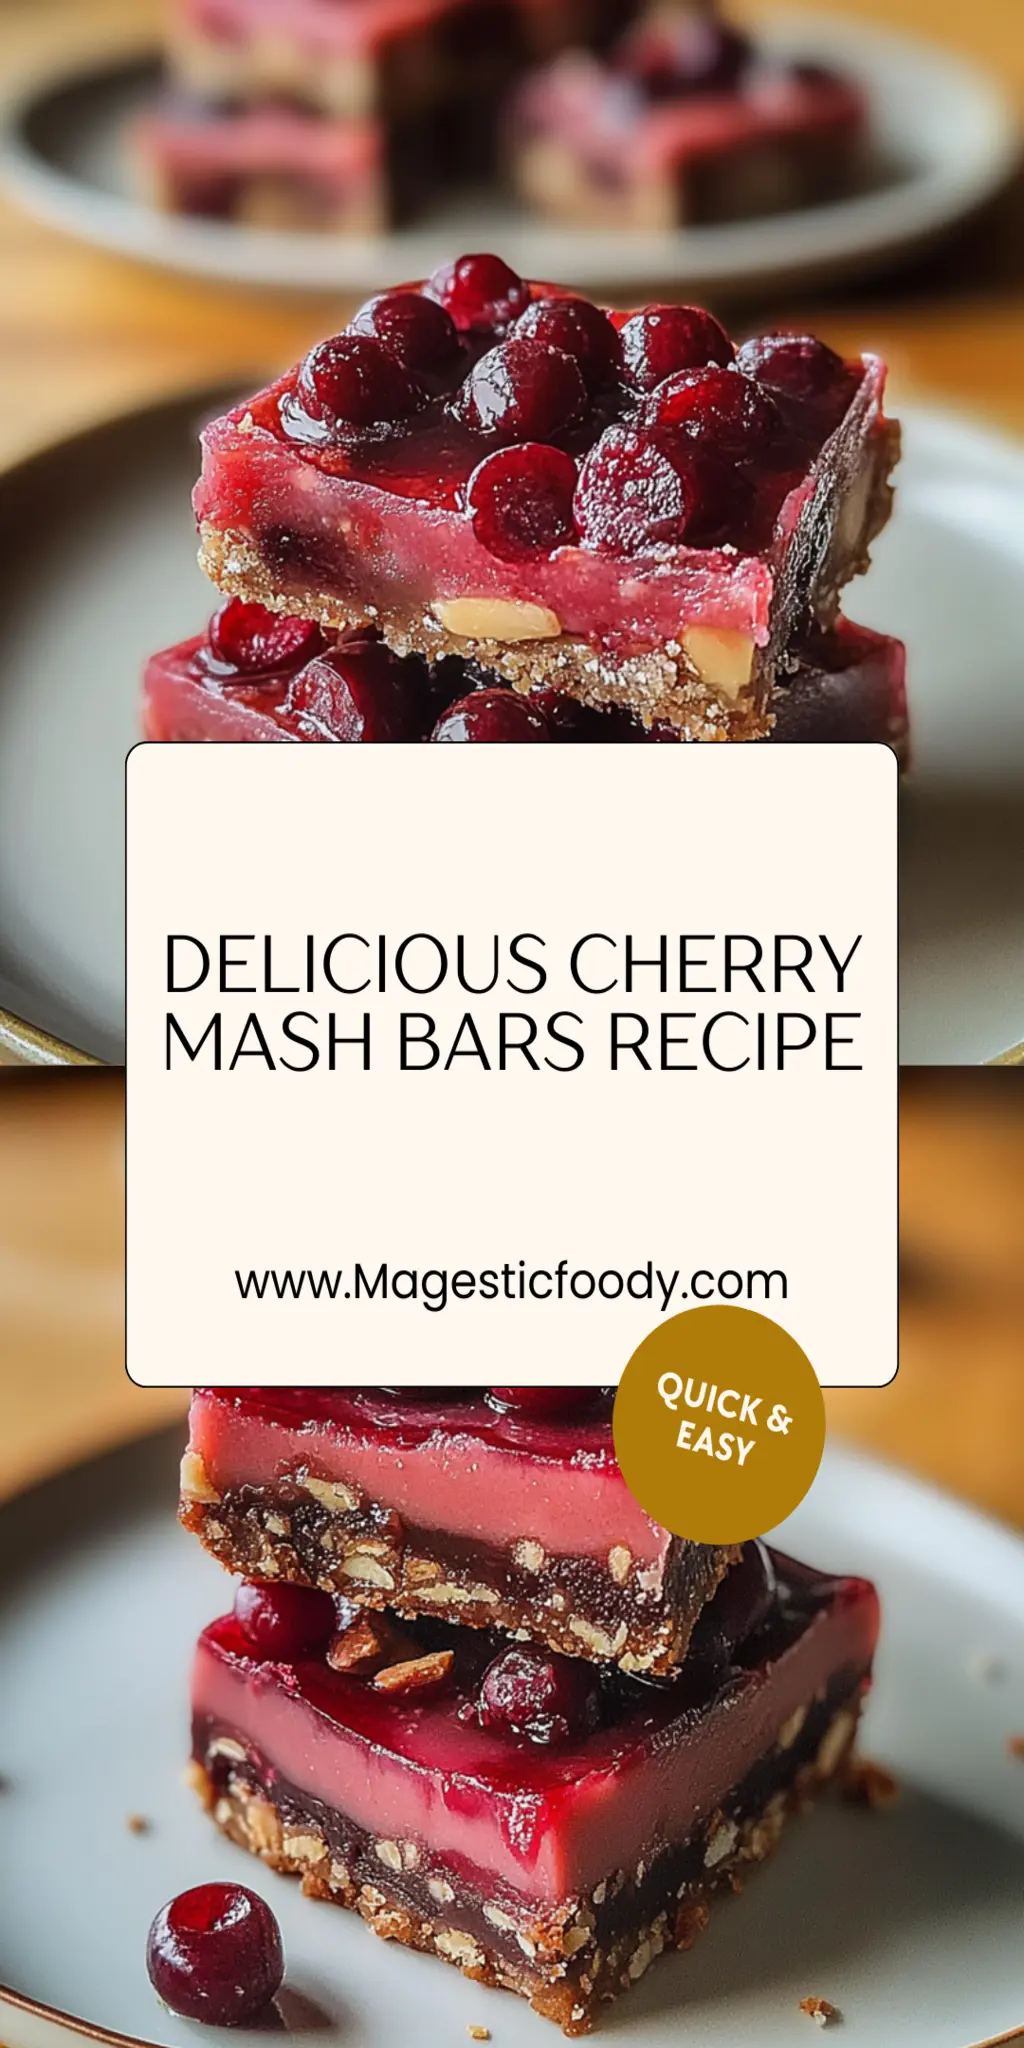
In summary, Cherry Mash Bars are a refreshing, easy-to-make treat that will brighten any occasion. With their simple ingredients and customizable options, these bars are a hit for dessert lovers of all ages. Whether you choose to stick with the classic recipe or add your unique spin, the highlight will always be those juicy cherries. Don’t forget, Cherry Mash Bars promise not just a taste experience but also a visual delight that’ll leave everyone wanting more. Enjoy baking and sharing this sweet summer treat!
Cherry Mash Bars
Ingredients
Equipment
Method
- Preheat your oven to 350°F (175°C) and grease an 8×8-inch baking dish.
- In a medium bowl, whisk together flour and baking powder.
- In another bowl, cream the softened butter and sugar until light and fluffy.
- Beat in the eggs one at a time, followed by the vanilla extract.
- Gradually mix in the dry ingredients until just combined; fold in the cherries gently.
- Pour the batter into the prepared dish and bake for 30-35 minutes or until golden brown. Cool before slicing.