
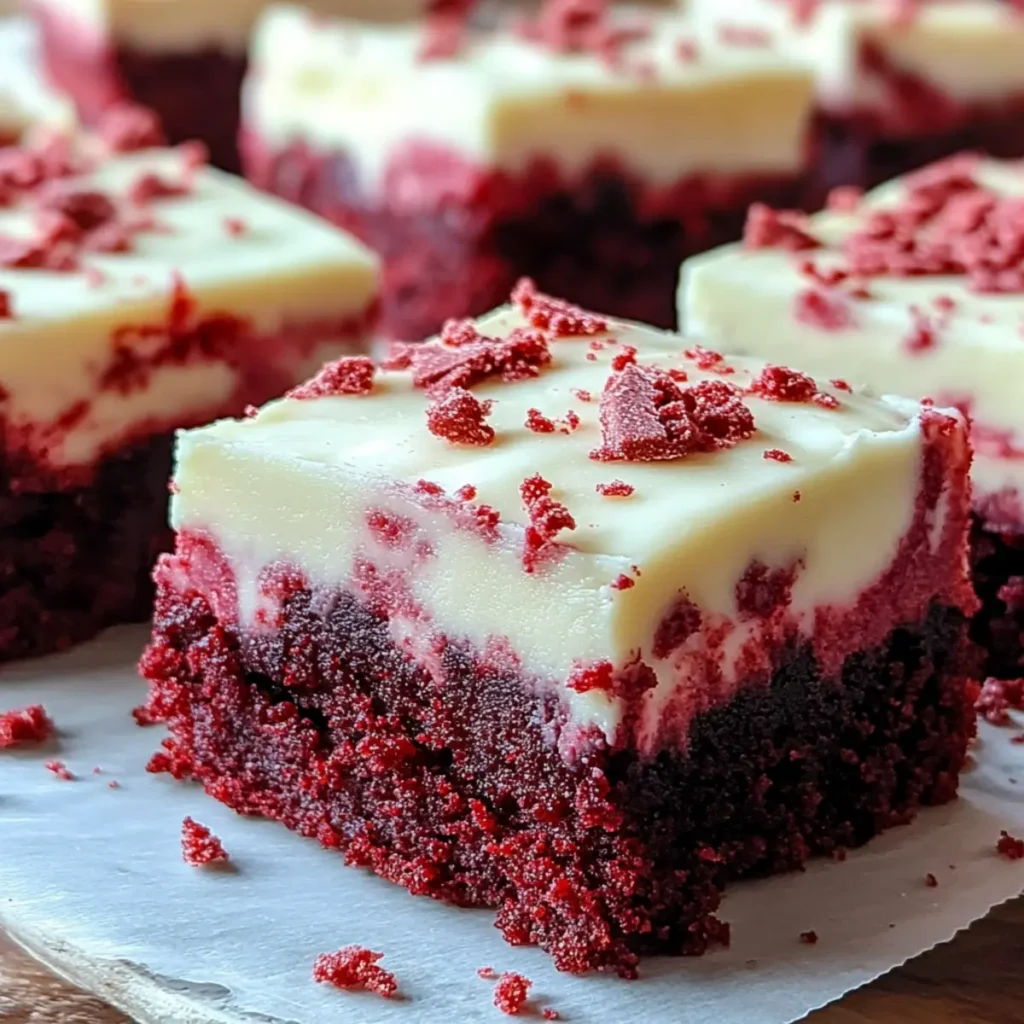
The air is thick with the sweet aroma of freshly baked goods, and there’s nothing quite like the anticipation that comes with whipping up a tray of delicious Red Velvet Cookie Bars. Imagine slicing into a soft, vibrant red piece of heaven, the rich cocoa mingling with a hint of vanilla, creating an explosion of flavor that’s as festive as a holiday gathering. Perfect for birthdays, Valentine’s Day, or just a whimsical mid-week treat, the anticipation of these cookie bars will have you setting the stage for smiles all around.
Now, let’s take a moment to appreciate the emotional connection we all have with our favorite desserts. I remember the very first time I laid eyes on a plate of Red Velvet treats at a family gathering. The cheerful hue instantly drew me in, prompting a rush of hungry curiosity. The tale of these cookie bars stretches beyond their color — it’s about turning everyday ingredients into something spectacular and unforgettable.
Why You'll Love This Red Velvet Cookie Bars
- This incredible Red Velvet Cookie Bars transforms simple everyday ingredients into restaurant-quality flavors that will blow your mind completely.
- Foolproof recipe techniques guarantee perfect results every single time, making even novice cooks feel like professional chefs instantly.
- Stunning visual appeal with gorgeous colors and mouthwatering aromas creates the ultimate Instagram-worthy dish for any special occasion.
- Endlessly adaptable for different dietary needs while working beautifully for meal prep, date nights, or entertaining large groups effortlessly.
Ingredients for Red Velvet Cookie Bars
Here’s what you’ll need to make this delicious Red Velvet Cookie Bars:
1 cup all-purpose flour – This is your base; choose a quality blend for better texture.
1/3 cup unsweetened cocoa powder – Opt for Dutch-processed cocoa for a deeper chocolate flavor.
3/4 cup granulated sugar – Sweetens the deal! Use superfine sugar for a smoother batter.
1/4 cup brown sugar, packed – Adds moisture and that delicious caramel note.
1/2 tsp baking soda – A little lift to keep these bars light and fluffy.
1/4 tsp salt – Just enough to balance the flavors beautifully.
1/2 cup unsalted butter, softened – The magic ingredient! Ensure it’s at room temperature for easy mixing.
1 large egg – Binds everything together, adding a touch of richness.
1 tsp vanilla extract – A flavor enhancer that adds warmth and depth.
2 tbsp red food coloring – The showstopper for that bold classic red color.
Cream cheese frosting (optional) – Because who doesn’t love that tangy, sweet frosting on top?
How to Make Red Velvet Cookie Bars
Follow these simple steps to prepare this delicious Red Velvet Cookie Bars:
Step 1: Preheat the oven and prepare the pan
Start by preheating your oven to 350°F (175°C). Grab an 8×8-inch baking pan and line it with parchment paper, allowing a little overhang for easy removal later.
Step 2: Mix the dry ingredients
In a medium bowl, whisk together the all-purpose flour, cocoa powder, baking soda, and salt. This ensures your dry ingredients are evenly distributed. Set aside and take a moment to appreciate the delightful chocolatey aroma.
Step 3: Cream the butter and sugars
In a large mixing bowl, beat the softened butter with granulated and brown sugars using an electric mixer until you achieve a light and fluffy texture. This usually takes about 2-3 minutes, and trust me, it’s worth the wait.
Step 4: Incorporate the wet ingredients
Add the egg and vanilla extract to the butter mixture, mixing until everything is well combined. Next, channel your inner artist as you slowly blend in the red food coloring until you achieve that stunning crimson hue.
Step 5: Combine wet and dry ingredients
Gradually add the flour mixture to your wet ingredients, stirring until just combined. Be careful not to overmix; we want soft, chewy bars, not a workout for your arm.
Step 6: Bake to perfection
Pour the batter into your prepared pan, smoothing it out evenly. Pop it into the oven and bake for about 25-30 minutes, or until a toothpick inserted into the center comes out clean. Let these beauties cool in the pan for at least 10 minutes before carefully lifting them out with the parchment.
To elevate your Red Velvet Cookie Bars, slather on a layer of cream cheese frosting once they’ve cooled completely — it’s the cherry on top of this vibrant dessert!
Enjoy these delightful bars with a glass of milk, or serve them at your next gathering and watch them disappear faster than you can say “yum.” Whether you’re making them for a special occasion or just to satisfy a sweet tooth, these Red Velvet Cookie Bars are sure to impress and bring a smile to everyone at the table. Happy baking!
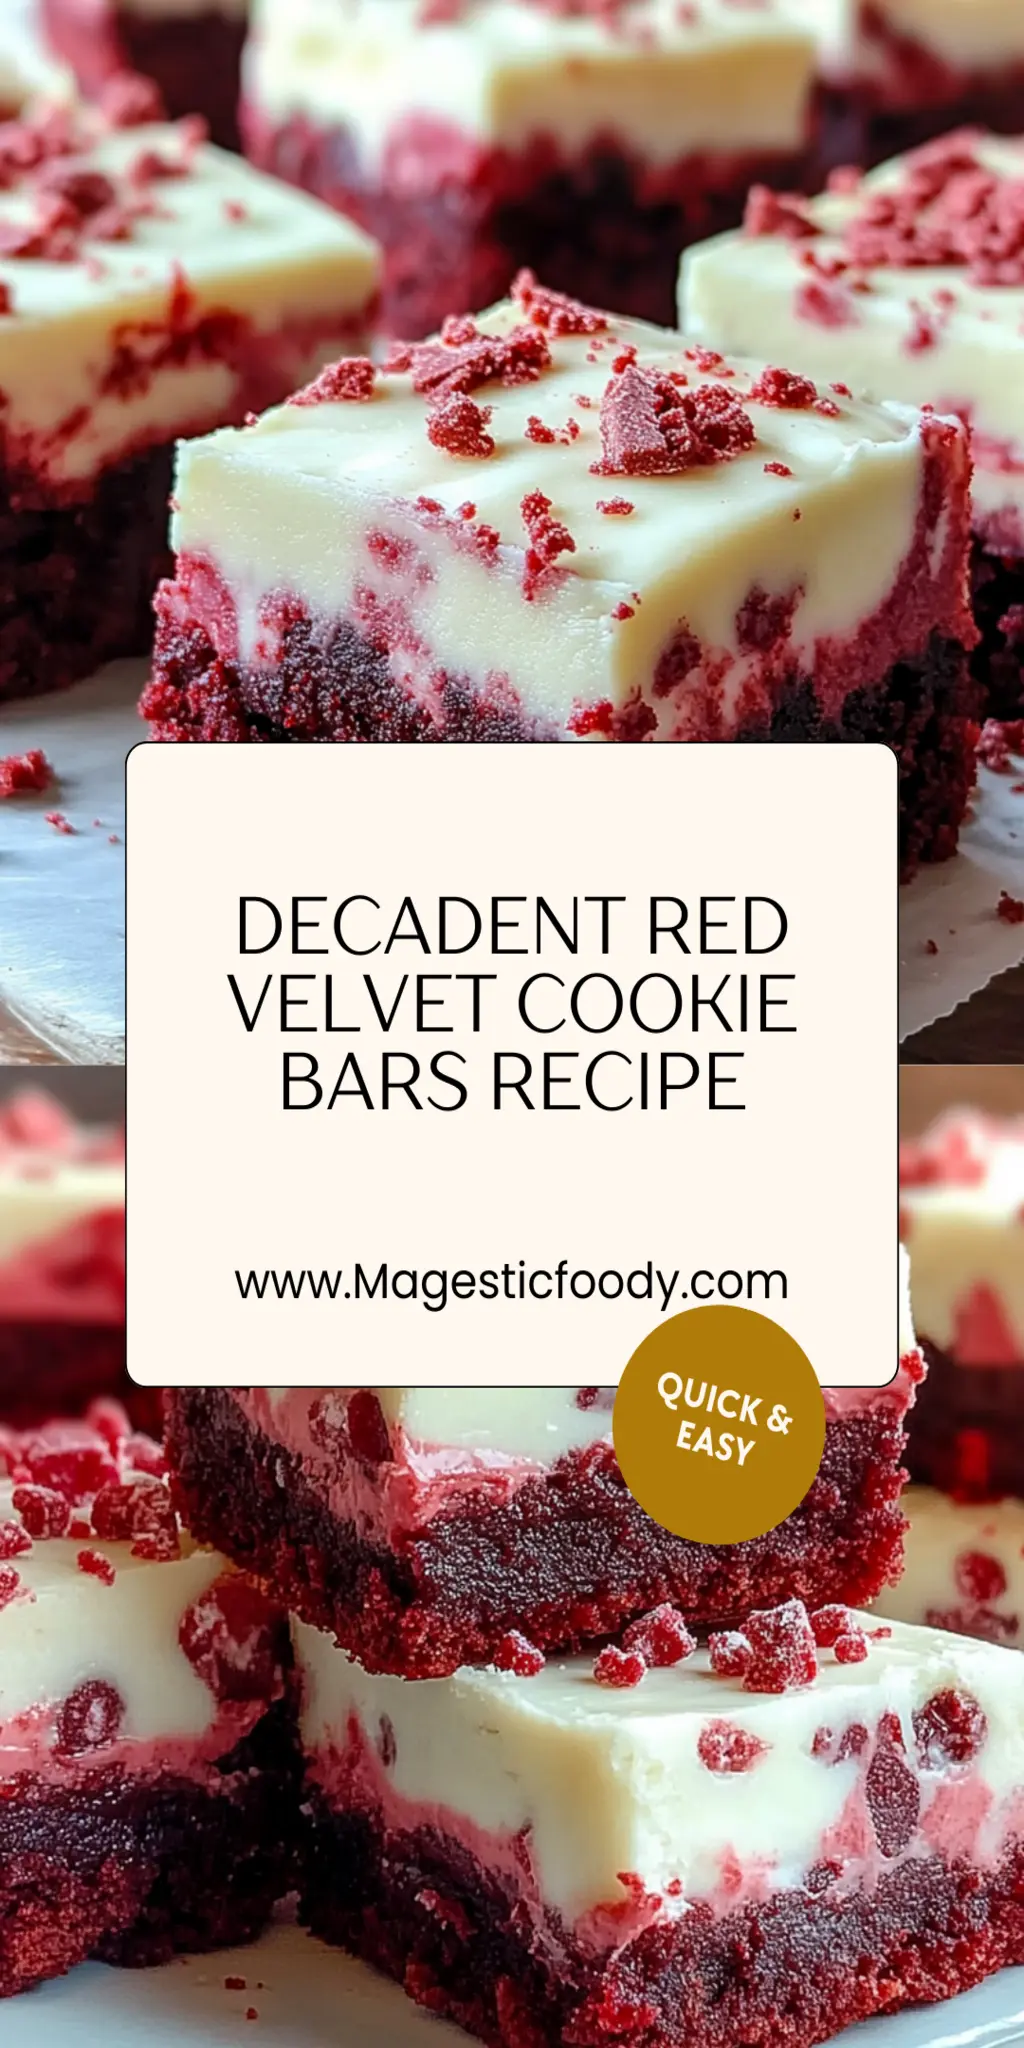
You Must Know About Red Velvet Cookie Bars
- This showstopping Red Velvet Cookie Bars delivers restaurant-quality results using simple ingredients you probably already have at home.
- The perfect balance of textures and flavors creates an unforgettable dining experience that will have everyone asking for seconds.
- Picture-perfect presentation with vibrant colors makes this dish absolutely Instagram-worthy and guaranteed to impress any dinner guest.
- Incredibly versatile recipe that works beautifully for weeknight dinners, meal prep, special occasions, or even outdoor entertaining sessions.
Perfecting Red Velvet Cookie Bars Cooking Process
To achieve the perfect Red Velvet Cookie Bars, start by preparing your ingredients. Preheat the oven, mix dry ingredients first, then beat your butter and sugars until fluffy. Gradually combine everything for a smoother batter that bakes evenly and deliciously every time.
Add Your Touch to Red Velvet Cookie Bars
Feel free to customize your Red Velvet Cookie Bars! Consider adding white chocolate chips for an indulgent touch or swapping out the cream cheese frosting for a decadent chocolate ganache. You can even throw in some nuts for an added crunch and texture.
Storing & Reheating Red Velvet Cookie Bars
Store your Red Velvet Cookie Bars in an airtight container for up to four days at room temperature. To reheat, simply pop them in the microwave for a few seconds. This preserves their freshness and ensures they remain soft and chewy.
Chef's Helpful Tips for Red Velvet Cookie Bars
- This professional-quality Red Velvet Cookie Bars relies on precise timing and temperature control to achieve restaurant-standard results consistently.
- Master the art of mise en place by prepping all ingredients beforehand, ensuring smooth execution and preventing any last-minute cooking disasters.
- The secret lies in layering flavors throughout the cooking process rather than seasoning only at the end for maximum depth.
- Pro tip: let the finished dish rest for optimal texture and flavor development before serving to hungry guests waiting eagerly.
I remember the first time I made Red Velvet Cookie Bars for a family gathering. The laughter and compliments just kept coming, and it felt amazing to see everyone enjoy something I created. Those moments always bring me back to the joy of cooking.
FAQs About Red Velvet Cookie Bars
What are Red Velvet Cookie Bars?
Red Velvet Cookie Bars are a delightful dessert that combines the rich, velvety flavors of classic red velvet cake into a conveniently shareable bar format. These bars are typically made with all-purpose flour, cocoa powder, and red food coloring, giving them their signature crimson hue. When baked, they offer a tender and moist texture, often topped with delicious cream cheese frosting for that quintessential red velvet taste. They’re perfect for gatherings, potlucks, or simply as a sweet treat at home.
How do you make Red Velvet Cookie Bars soft and chewy?
To ensure your Red Velvet Cookie Bars come out soft and chewy, focus on a few key principles. First, avoid overmixing the batter after adding the dry ingredients; this can lead to dense bars. Secondly, use softened butter, as it incorporates air for a light texture. Lastly, don’t bake them for too long; remove them from the oven when a toothpick inserted in the center comes out with a few moist crumbs. These simple steps will guarantee tender, chewy perfection.
Can I add toppings to Red Velvet Cookie Bars?
Absolutely! Toppings can enhance the experience of Red Velvet Cookie Bars significantly. Consider adding white chocolate chips for a sweet twist, or sprinkle some chopped nuts for an added crunch. Drizzling melted chocolate or caramel over the top can create an elegant finishing touch. Whatever you choose, feel free to experiment and make it uniquely yours!
How should I store leftover Red Velvet Cookie Bars?
To keep your Red Velvet Cookie Bars fresh, store them in an airtight container. At room temperature, they can last for up to four days, maintaining their soft, chewy texture. If you prefer to keep them longer, consider refrigerating them for up to a week. Just remember to bring them back to room temperature or warm them slightly in the microwave for that fresh-out-of-the-oven taste!
Conclusion for Red Velvet Cookie Bars
In conclusion, Red Velvet Cookie Bars are a mouthwatering dessert that brings the classic flavors of red velvet cake into a convenient, shareable form. With their rich, vibrant color and soft texture, they are ideal for any occasion, from special celebrations to casual gatherings. By following the right techniques and adding your personalized touches, you can create a dessert that will impress everyone. Treat yourself and your loved ones to these decadent Red Velvet Cookie Bars and enjoy the delightful reactions!

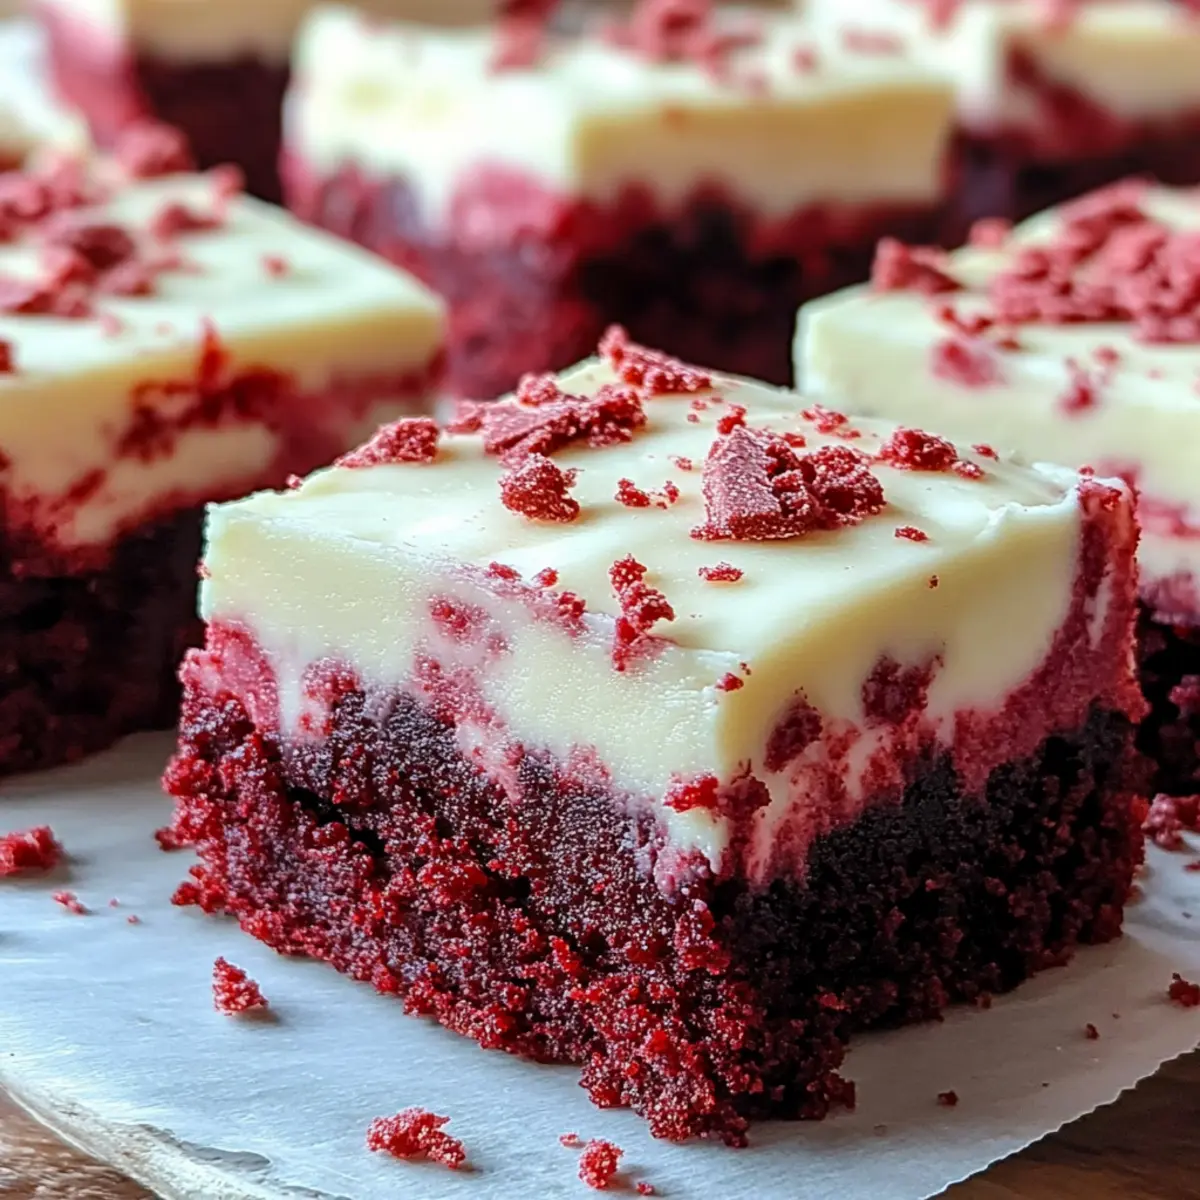
Delicious Red Velvet Cookie Bars Recipe with Cream Cheese Frosting
Ingredients
Equipment
Method
- Preheat oven to 350°F (175°C) and line an 8×8 inch baking pan with parchment paper.
- In a bowl, whisk together flour, cocoa powder, baking soda, and salt; set aside.
- In another bowl, beat softened butter with granulated and brown sugars until fluffy.
- Add the egg and vanilla extract; mix in red food coloring until well combined.
- Gradually add dry ingredients to wet mixture; stir until just combined.
- Pour batter into the prepared pan; smooth evenly and bake for about 25-30 minutes or until a toothpick comes out clean.
- Allow to cool before adding cream cheese frosting if desired.