
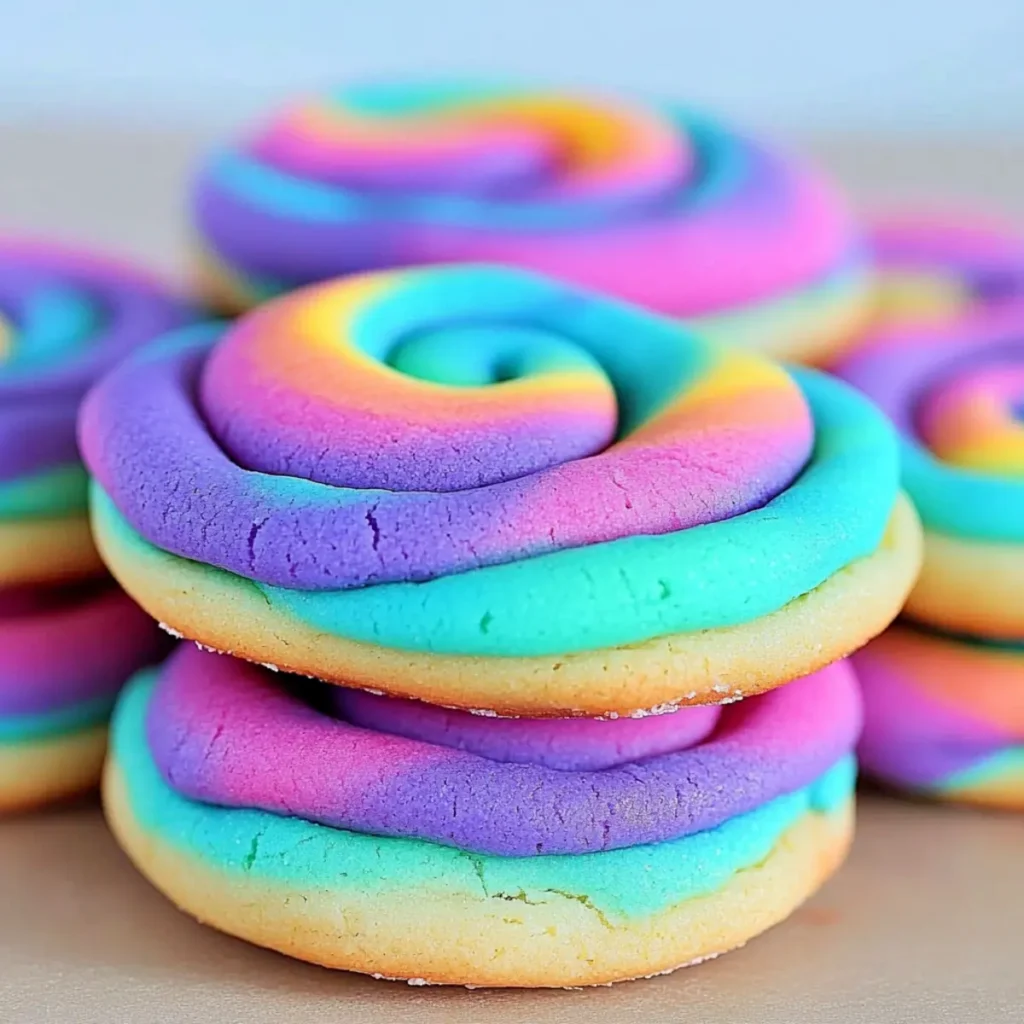
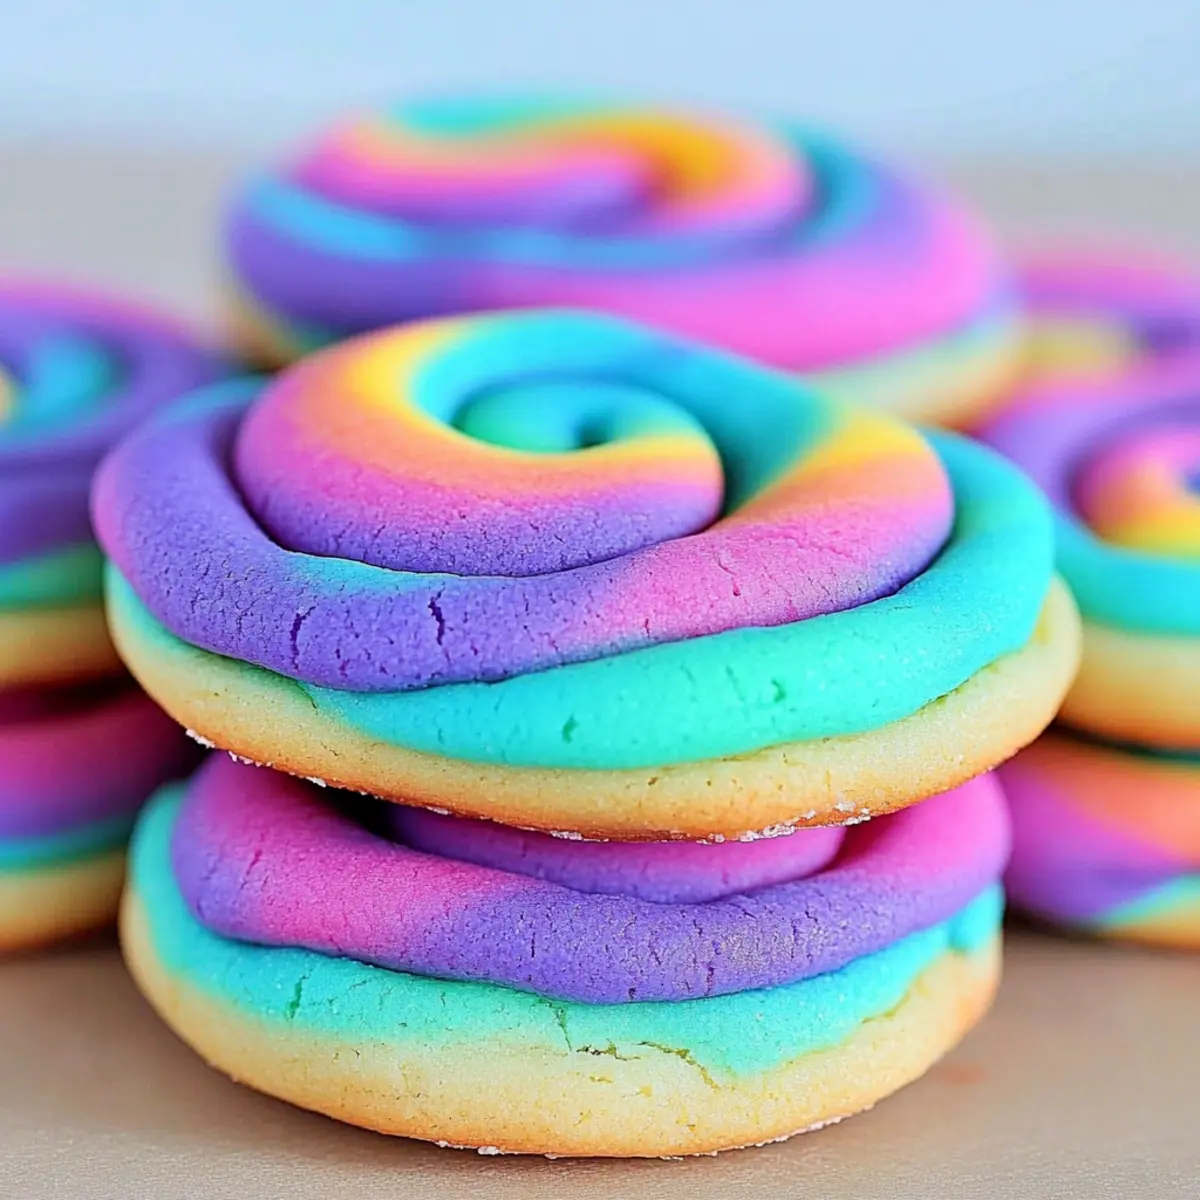
Tie Dye Cookies are a whimsical treat that not only bring joy to your taste buds but also paint smiles on faces. These vibrant cookies are a delightful mix of sweet, buttery flavors and eye-catching colors, making them the perfect dessert for any occasion. Whether you’re celebrating a birthday, hosting a colorful party, or just feeling crafty in the kitchen, Tie Dye Cookies are sure to add a splash of fun to your festivities.
Imagine pulling a tray of these beauties from the oven, their edges a golden brown, and the interior bursting with swirls of color. With each bite, you experience the rich, buttery cookie flavor paired with a visually stunning display that would impress even the most discerning baker. These cookies aren’t just delicious; they bring people together, making memories one sprinkle of color at a time.
Why You'll Love This Tie Dye Cookies
- This incredible Tie Dye Cookies transforms simple everyday ingredients into restaurant-quality flavors that will blow your mind completely.
- Foolproof recipe techniques guarantee perfect results every single time, making even novice cooks feel like professional chefs instantly.
- Stunning visual appeal with gorgeous colors and mouthwatering aromas creates the ultimate Instagram-worthy dish for any special occasion.
- Endlessly adaptable for different dietary needs while working beautifully for meal prep, date nights, or entertaining large groups effortlessly.
Ingredients for Tie Dye Cookies
Here’s what you’ll need to make this delicious Tie Dye Cookies:
2 ¾ cups all-purpose flour – This is the backbone of your cookies, providing structure and texture. Consider using a good quality brand for best results.
1 cup granulated sugar – Sweetness is the key here. Sugar not only adds sweetness but also moisture to keep your cookies soft and chewy.
1 tsp baking powder – This ingredient acts as a leavening agent, giving your cookies that perfect rise, ensuring they aren’t flat like a pancake.
½ tsp salt – Just a pinch of salt enhances the flavors and balances the sweetness beautifully.
1 cup unsalted butter, softened – Butter is the secret to that rich and creamy taste. Make sure it’s at room temperature for easy mixing.
2 large eggs – They add moisture and structure, binding everything together in delicious harmony.
2 tsp vanilla extract – A splash of vanilla brings a wonderful aroma and flavor to the cookies, making them irresistible.
Gel food coloring (various colors) – This is where the fun begins! Use gel coloring for vibrant hues that won’t change the cookie’s texture.
How to Make Tie Dye Cookies
Follow these simple steps to prepare this delicious Tie Dye Cookies:
Step 1: Preheat Your Oven
Start by preheating your oven to 350°F (175°C). While the oven warms up, line two baking sheets with parchment paper to prevent your cookies from sticking later.
Step 2: Mix Dry Ingredients
In a large bowl, whisk together the flour, baking powder, and salt until well combined. This step ensures that your cookies rise evenly, so don’t skip it!
Step 3: Cream Butter and Sugar
In another bowl, cream the softened butter and granulated sugar together until light and fluffy. This process usually takes about 3-5 minutes and will set the perfect base for your cookies.
Step 4: Add in Eggs and Vanilla
Beat in the eggs, one at a time, ensuring each is fully mixed in before adding the next. Then stir in the vanilla extract for that extra kick of flavor.
Step 5: Combine Mixtures
Gradually mix the dry ingredients into the wet mixture. Stir until just combined; overmixing can lead to tough cookies that nobody wants to eat.
Step 6: Color Your Dough
Divide your dough into three bowls. Add your gel food coloring to each bowl and gently swirl the colors together without fully blending. The goal is to achieve a tie-dye effect that is as fun to look at as it is to eat!
Step 7: Scoop and Bake
Using a spoon or cookie scoop, dollop colorful mounds of dough onto your prepared baking sheets, leaving space between each for expansion. Bake for 10-12 minutes until the edges are golden brown, and the centers look slightly soft.
Step 8: Cool and Enjoy
Once baked, let the cookies cool on wire racks for a few minutes (if you can resist)! Then serve them warm or store them in an airtight container to enjoy later.
Get ready for a sensory explosion when you bite into these Tie Dye Cookies. With their vibrant colors and scrumptious flavors, you may find it hard to share! Whether with family or friends, they are sure to be the life of any gathering, leaving everyone eager for seconds (or thirds!). So tie on that apron, roll up your sleeves, and dive into this colorful baking adventure – you won’t regret it! Happy baking!
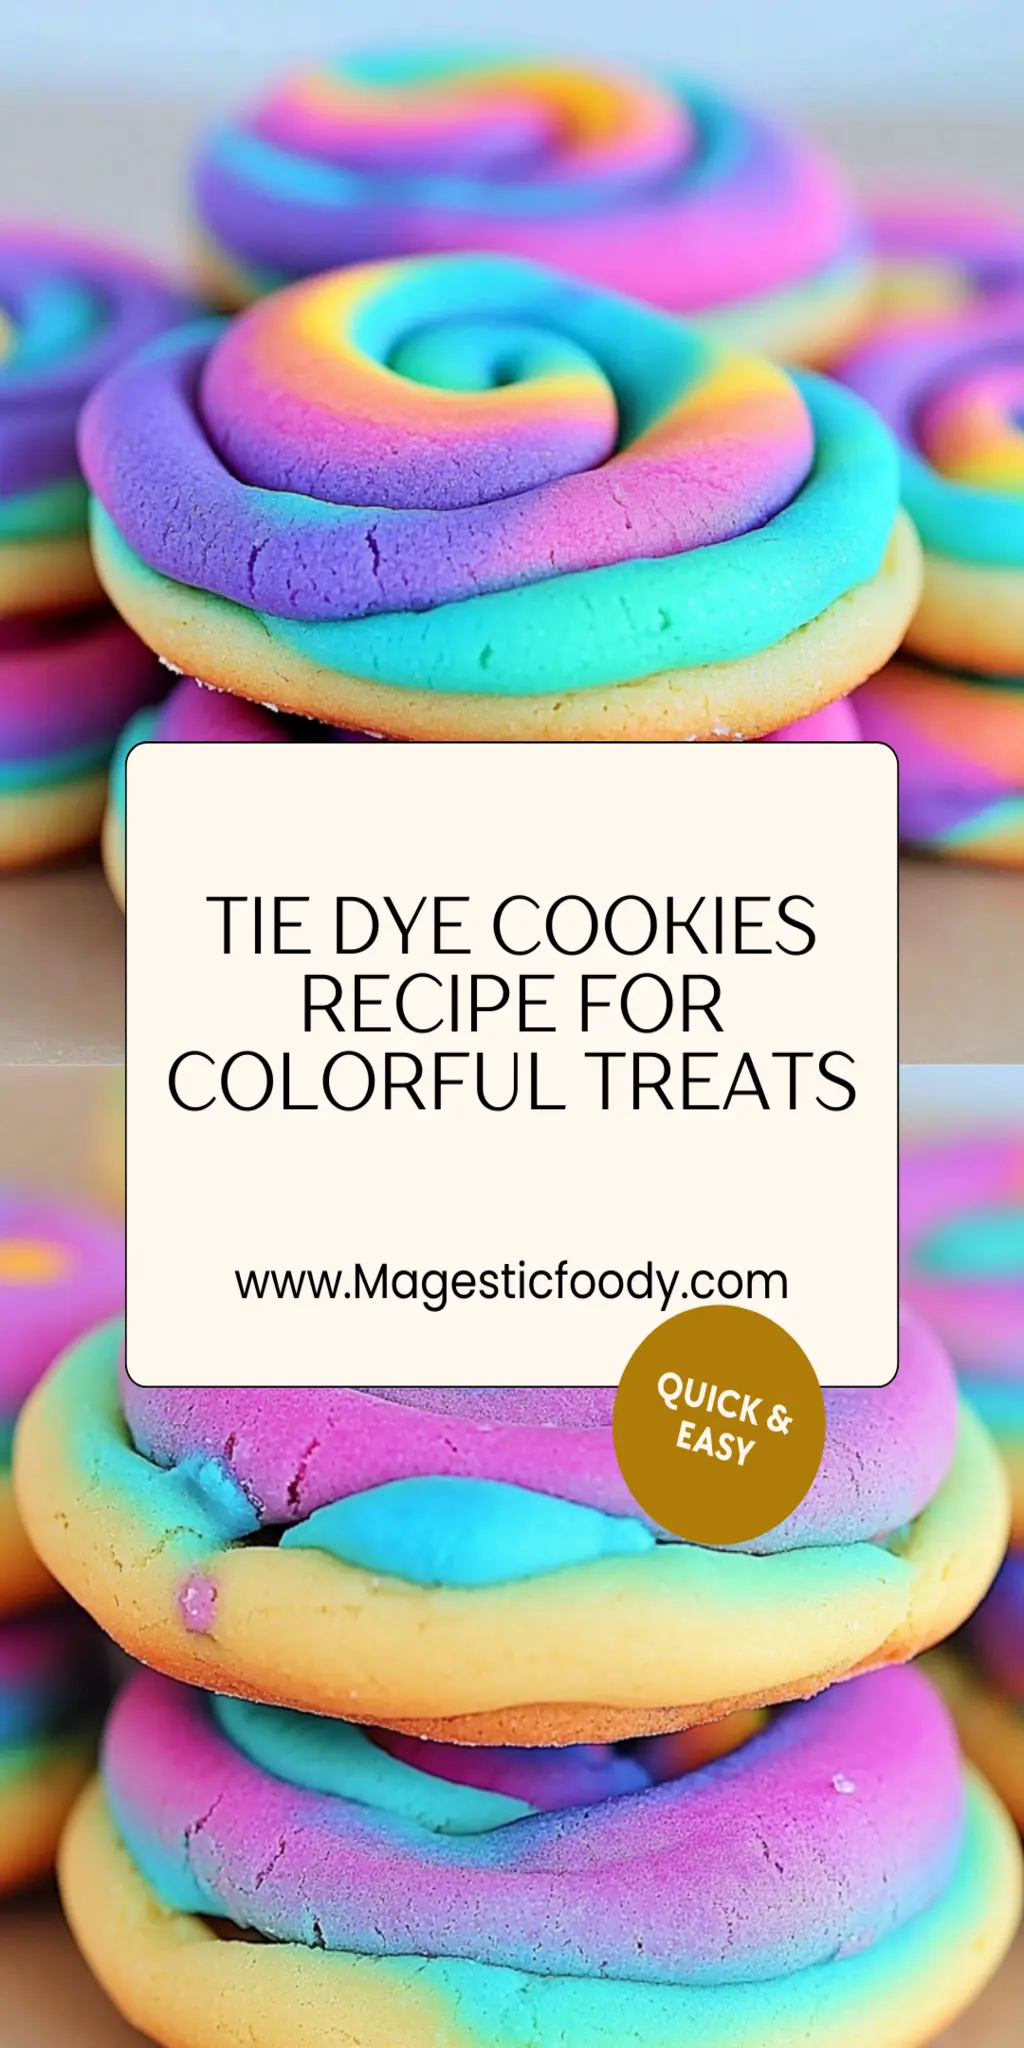
This showstopping Tie Dye Cookies delivers restaurant-quality results using simple ingredients you probably already have at home. The perfect balance of textures and flavors creates an unforgettable dining experience that will have everyone asking for seconds. Picture-perfect presentation with vibrant colors makes this dish absolutely Instagram-worthy and guaranteed to impress any dinner guest. Incredibly versatile recipe that works beautifully for weeknight dinners, meal prep, special occasions, or even outdoor entertaining sessions.
Perfecting Tie Dye Cookies Cooking Process
Start by prepping your ingredients and preheating the oven. Cream the butter and sugar together while whisking the flour mixture separately. Combine them methodically, ensuring even mixing. Add colors to the divided dough last for the best presentation without over-mixing.
Add Your Touch to Tie Dye Cookies
Feel free to customize your Tie Dye Cookies by incorporating chocolate chips, nuts, or coconut flakes. You can also swap out the vanilla extract for almond or peppermint extract for a surprise twist. Get creative with the colors—think bright neons or pastel shades depending on the occasion.
Storing & Reheating Tie Dye Cookies
To maintain freshness, store your Tie Dye Cookies in an airtight container at room temperature for up to a week. If you want to extend their lifespan, freeze them for up to three months. Reheat in the oven at a low temperature for that fresh-baked taste.
Chef's Helpful Tips for Tie Dye Cookies
- This professional-quality Tie Dye Cookies relies on precise timing and temperature control to achieve restaurant-standard results consistently.
- Master the art of mise en place by prepping all ingredients beforehand, ensuring smooth execution and preventing any last-minute cooking disasters.
- The secret lies in layering flavors throughout the cooking process rather than seasoning only at the end for maximum depth.
- Pro tip: let the finished dish rest for optimal texture and flavor development before serving to hungry guests waiting eagerly.
The first time I made Tie Dye Cookies was for my niece’s birthday party, and they quickly became the star of the dessert table. Watching the kids’ eyes light up when they saw those colorful cookies was priceless.
FAQs About Tie Dye Cookies
What are Tie Dye Cookies?
Tie Dye Cookies are vibrant and fun treats that are not only delicious but also visually striking. These cookies incorporate colorful swirls created by mixing different shades of gel food coloring into a classic cookie dough. Easy to make with simple ingredients like flour, butter, and sugar, they offer a delightful texture and flavor that can appeal to both kids and adults. Served at parties or special occasions, Tie Dye Cookies are sure to steal the show and bring a smile to anyone’s face.
How can I customize my Tie Dye Cookies?
Customization is where Tie Dye Cookies truly shine! You can mix in various add-ins like chocolate chips, nuts, or even coconut flakes to enhance flavor and texture. For a unique twist, consider swapping vanilla extract for almond or peppermint extract. Don’t be afraid to experiment with colors either; choose bold neons for a party or soft pastels for a baby shower. The possibilities are endless, allowing you to make each batch uniquely yours.
Can I freeze Tie Dye Cookies?
Absolutely! Freezing Tie Dye Cookies is a great way to enjoy them later without losing their deliciousness. To freeze, simply let the cookies cool completely after baking. Then, store them in an airtight container or freezer bag, keeping layers separated with parchment paper to prevent sticking. They can be frozen for up to three months. When you’re ready to enjoy them, just pop them in a warm oven for a few minutes to bring back that freshly baked taste.
What pairs well with Tie Dye Cookies?
Tie Dye Cookies are wonderfully versatile and can be paired with a variety of beverages and treats. A tall glass of milk is a classic choice, but consider serving them with flavored coffee, hot chocolate, or even a fruity smoothie. For a delightful dessert platter, these colorful cookies can be accompanied by fruit salad or a scoop of vanilla ice cream. The visual appeal and delightful flavor of Tie Dye Cookies bring joy to any gathering.
Conclusion for Tie Dye Cookies
In summary, Tie Dye Cookies are not just a visually appealing dessert; they are also fun to make and customize. With just a few simple ingredients and some vibrant gel food coloring, you can create cookies that are both a feast for the eyes and the taste buds. Whether for a special occasion or a casual family treat, Tie Dye Cookies promise to bring joy and deliciousness to your table. Don’t hesitate to try these delightful cookies and impress everyone with your baking skills!

Delicious Tie Dye Cookies Recipe: Fun and Colorful Treats
Ingredients
Equipment
Method
- Preheat your oven to 350°F (175°C) and line two baking sheets with parchment paper.
- In a bowl, whisk together flour, baking powder, and salt; set aside.
- In another bowl, cream softened butter and sugar until light and fluffy.
- Add eggs one at a time, mixing well after each addition, then stir in vanilla extract.
- Gradually mix the dry ingredients into the wet mixture until just combined.
- Divide dough into three bowls, adding different food coloring gels to each; swirl colors gently without blending completely.
- Spoon dollops of colored dough onto the prepared baking sheets.
- Bake for 10-12 minutes or until golden brown on the edges; cool on wire racks before serving.